Film Grain Filter
Effect section at the bottom of Develop is a new feature to Lightroom 3. This is where you’ll find Grain that produces film-like grains. It has three sliders (amount, size and Roughness), which influence the nature of the grainy effect.
Click on Develop option in the top right corner of the screen then scroll down the control panel on the right almost to the bottom to Effects section.
Amount
The first setting option is Amount, i.e. the number of grains.
The left-side picture indicates a low value, where the software splattered the picture only scarcely.
Give it a high value to get a strong grainy effect (right side).
Size
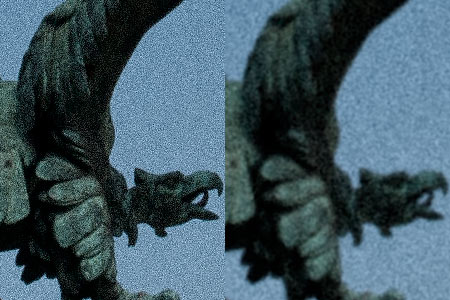
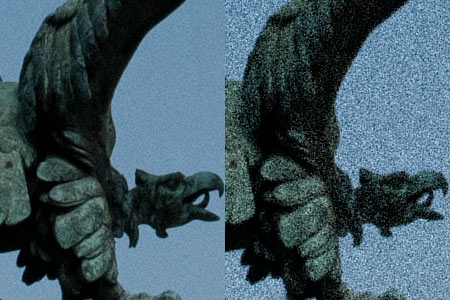
The middle slider is Size, which influences the size of the grains.
See it set to the lowest value on the left side. This results sharp-edged small grains.
The right side shows the highest value, leaving blurred grains of bigger size in the photo. It impairs the resolution at the same time.
The lower value resembles a digital noise, while a higher value results an analogue photo effect.
Smooth or rough
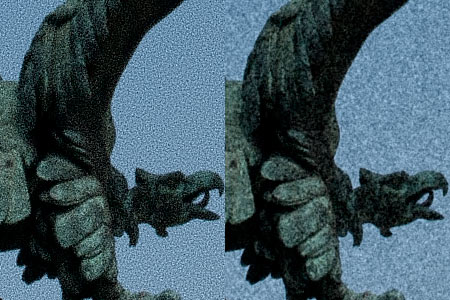
The third option in the row is Roughness setting how refined the grains should be.
We chose a low value on the left-side example. Again we can see a smaller-sized but sharp grainy effect that resembles digital noise.
The photo on the right illustrates what happens when you set this value to the highest degree. Conspicuous yet soft, scattered grains, reminding us of an analogue photo.
Old picture

It takes just a few clicks to add years to the photo, which displays a grainy effect as its valiant feature.
How to achieve this? Our next tutorial of Lightroom 3 reveals it all.