It’s a difficult task, but the new content-aware Healing Brush of Photoshop CS5 may be able to handle it. Sense of beauty and a little expertise in Photoshop cloning and texture correction tool will also be needed.
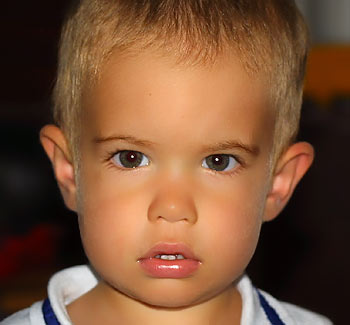
Load the photo in Photoshop
It takes more than two minutes for a plastic surgeon as well to remove these crease lines and wrinkles. However, it won’t take much longer for us.
A well-working novelty

We will resort to our old friends: cloning and healing brushes to fill the painted over area, this time wrinkles, with images copied from other parts of the image.
We will find a new friend in CS5, which we have already mentioned. It’s called Content-Aware Spot Healing Brush. You will find it among the other tools, but to make it special, select Content-Aware in the upper options row.
Its size should be somewhat wider than the widest wrinkle, and it should be hard edged.
Meticulous work
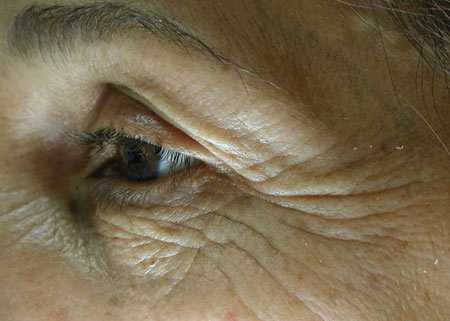
Now comes the essence, removal of wrinkles. This can take a couple of minutes depending on the difficulty of the area and on how experienced you are in the issue.
Use medium-length strokes along the wrinkles, from the end toward their starting point. Always begin with the thinner lines.
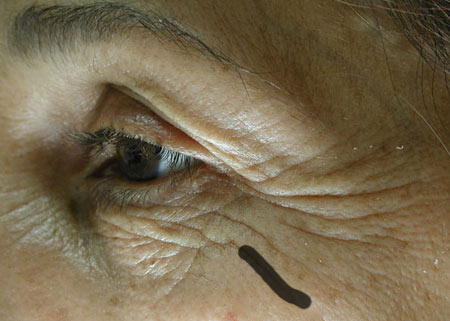
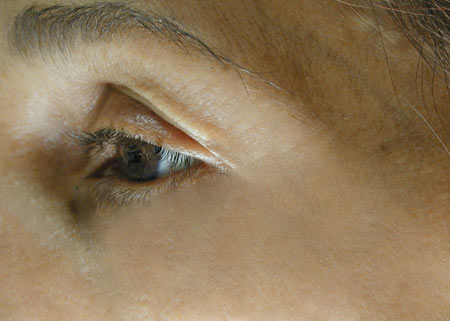
If possible, avoid working on an area like in the picture above, where there are only wrinkled parts because the brush will have to take a sample fom somewhere and so it is good to have a bigger area free of wrinkles. The result will look much better then.
Repetition
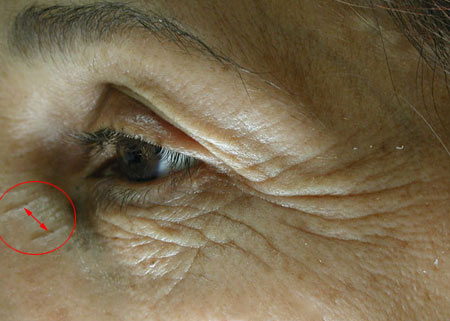
Content-Aware healing brush works similarly to the previous versions: it inspects the painted over area and then fills it with samples taken from other parts based on the content of the painted over area. Not surprisingly, there might be spots with similar patterns. It can be very annoying and it reveals photoshop right away.
If you recognize such an occurrence, paint over the repetitive sample or try to cover one with very small patterns instead of copying the whole line. If you have removed one of them, the other one can be deleted with one stroke.
Texture
![]()
However well you work, content-aware fill may leave too even areas, spots, which do not resemble skin texture at all.
If you click on Proximity Match in the Options panel and go over the edges carefully, the area will match skin texture better.
The result will be even better if you use plain Healing Brush instead of Spot Healing Brush, and take sample from a wrinkle-free area by hand and paint it over the too even surface. The effect will be more realistic.
-25 years
As a finishing touch, use Selective Color to change the greyish, dark skin tone, and the impression will be more life-like. Moreover, you can resort to the favorite trick in anti-wrinkle cream ads, brightening, since brighter skin looks younger.