When dealing with cropped images, sized for Internet publishing, you can often encounter the Sisyphean feeling of this job. The cropping and resizing of a whole album of photos one by one is a rather tedious task. The Crop Tool combines these two steps, thus speeding up work a great deal.
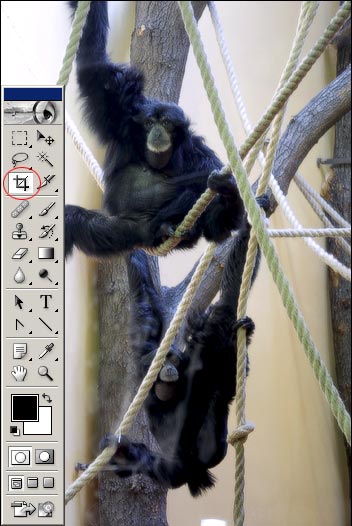
In this example, we want to crop the upper chimpanzee so that we get a picture of landscape orientation and a size of 800×600 pixels, appropriate for the Web. Use the Crop Tool, indicated with a red circle in the illustration.
Click the Crop Tool to display its options at the top of the application window. Width specifies the width of the cropping. You should also type the units of measurement you want to use, e.g. “in” for inches or “px” for pixels.
Height specifies the height of the cropping. Resolution displays output resolution. For monitors, 72 pixels/inch will do nicely, but 300 is recommended for printing. The rest of the options are unimportant for us now.
Type the desired size values (for 800×600 pixels) in the first two fields. Don’t forget typing “px”! These values define a landscape orientation. Resolution can be anything you want, there are no significant requirements for Web publishing.

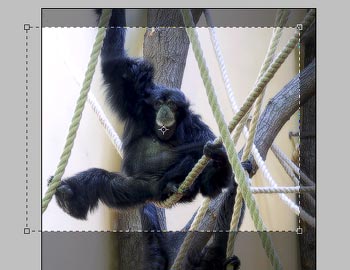
After typing the values, drag a rectangular marquee with the crop tool around the area you want to crop. The selection will retain the size ratio defined by the specified values. You can drag the handles on the corners to change the size of the area, while still leaving the size ratio unchanged. Regardless of the size of the marquee you have set, the selection will be resized to 800×600 pixels. If you have selected a small area, this could seriously hinder image quality.
You can also set the marquee’s location with the arrow keys, and also position it outside the picture’s boundaries. In such a case, Photoshop fills the outside areas with the selected background color (white by default).
After precisely setting the marquee, press Enter to crop and resize the selection.