Anyone who follows our articles will know by now that applying a Photoshop effect does not always brings acceptable results, while mixing several similar effects will have quite a reassuring end-result. The following tip is of the same nature, which softens the not-so-sophisticated- film grain effect which is to be found in the software.
Load the photo in Photoshop
You can choose any photo that you would like see with a film-like effect on it. The essence of this method lies in the type of the film grains, as they are of different sizes. So we will now mix three various grain and noise effects in one photo so that we achieve the right end-result.
Pre-arrangements in three layers
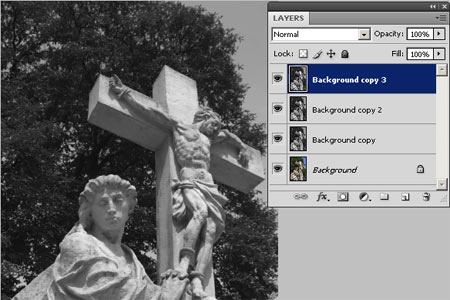
But first of all comes the indispensable layer duplication. Create a copy of your original image layer on the Layers palette or use the Layer/Duplicate layer command. Next remove colors from this layer since you won’t need them with Image/Adjustments/Desaturate.
Finally, make two more copies of this desaturated layer using Layer/Duplicate layer command. You will use lack-and-white layers a grain effect on these black-and-white layers respectively and then mix them.
Big grains
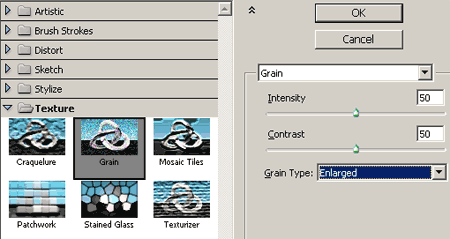
Select the first black-and-white layer, and then select Grain effect under Filter/Texture menu. Intensity and contrast of the effect can be of any value but preferably it should be of medium value.
Grain type is very important: select Enlarged (big grain size) here. This will provide the large grains, and it will also take away from the digital photo feeling.
When finished, set Opacity to around 50-70%, and in Blend menu choose Luminosity.
Film grain
The next step is something similar, but first select the middle black-and-white layer.
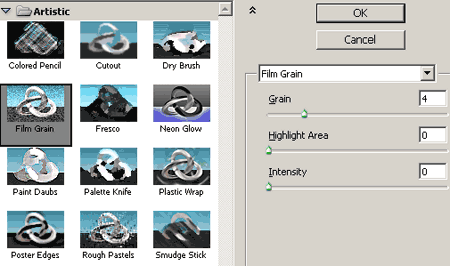
Film Grain, the original film grain effect of Photoshop is also in Filter menu, among Artistic filters. Use similar values like on the previous palette, and set Opacity around 50%, and set Blend mode to Luminosity.
Simple noise
Before moving on to the next step, select the third layer.
The third noise component is Filter/Noise/Add noise menu command. Choose Gauss monochromatic noise in the appearing window (Gaussian + Monochromatic). The amount of noise is again up to your choice. In case of smaller-size photos it should be under 10%.
The last step is the same as in the previous instances: set Opacity to around 50%, and Blend mode to Luminosity.
Scattered
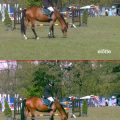
The finished photo looks like a scan of a film, more than after applying any other grain effect in Photoshop. This is due to the different grain sizes and the careful settings.
You can modify the style of your photo if you determine which noise component should prevail in the final photo by modifying the opacity of the three black-and-white layers.


