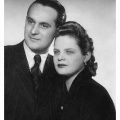
An old family portrait, born anew in Photoshop.

‘This picture of my grandfather was taken in 1966, at the age of 80. He was still working then. He died 100 days before his 100th birthday, a truly special man. I want to enlarge it and have it framed, to hang it on my wall. Unfortunately, the enlarged image is full of tiny bubbles.”
Attila S.
Well, the multitude of flecks, looking like snowfall, is really annoying. It won’t be difficult to remove, though, as the picture itself contains rather few details. It is quite rough and aquarel-like. Thus, even a strong noise filtering operation could not do it much harm, so we’ll take it on bravely. As you may remember, noise filtering has the definite disadvantage of removing finer details from the picture, together with noise. Now this danger won’t loom around. There’s a fair chance to make the snowfall vanish.
A few larger blots also catch the eye, and some smaller cracks, as well as the fragmented picture edges. They, won’t present an issue either.
When dealing with black-and-white images, I always start with Image/Adjustments/Desaturate, as there’s no need for the color veil left by the scanner or the camera. It was not particularly annoying by this photo, but still, you could spot a slight yellowish discoloration.
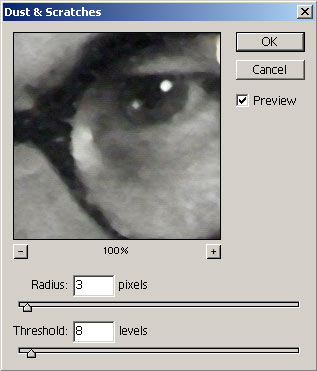
From earlier articles, you may remember the Filter/Noise/Dust&Scratches filter. It takes on quite neatly all kinds of damaging spots and lines, not just dust and scratches. It will be a perfect tool for this problem, too. I have used a Radius value of 3, which is appropriate to “snowflakes” of such a size. A value of 2 still left a few grains on the photo, while 4 already did too much blurring. Keep an eye on the preview area and toggle Preview to switch between the original and filtered image all the time to determine the ideal setting. Every photo, every speck of dust or line of scratch can require a different setting. This is absolutely up to the editing person. Setting Threshold properly is equally important. Lower values produce strong filtering and blur the finer details, as mentioned above. On the other hand, using higher values leads to preserving more details, and, alongside them, more of the noise. Once again, adjust the setting in small steps and keep checking the result constantly by toggling the preview. Consider how much of the details are gone and to what extent are the snowflakes eliminated? For this photo, a value of 8 looked good.
As this is an old paper photo, you might do well to preserve the analogue look and feel. You don’t have to filter everything totally smooth. Paper photos look better and more natural, if there is some graininess left. Once you have the picture enlarged once again onto paper, it will not be discernible anyway. Of course, it is my personal opinion. As this is a portrait, it doesn’t look bad even when filtered to softness. Later we’ll return to this issue again as it won’t be late to do this then.
The removal of fragmented picture edges is really simple. I simply cropped the photo so that the jagged edges fell off. There were ones intruding a bit further inward. I used Healing Brush (press J) and Clone Stamp (press S) interchanged to remove them. ALT+click a healthy area, and simply clone it over the damaged one. This is also the way to deal with the larger blot at the neck of the shirt, as well as other smaller defects.
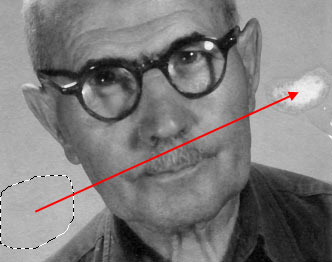
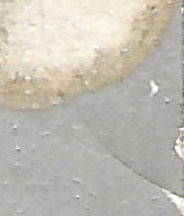
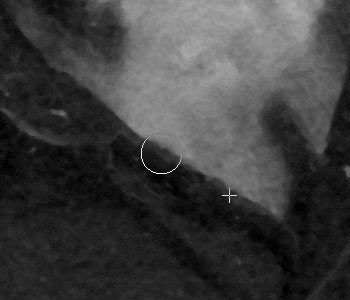
To remove the big blot at the right, I used the Patch Tool. (Press J to activate it.) It is found in the same place on the toolbar as Healing Brush, but you have to hold the mouse button pressed over the button. You can use this tool to clone the texture of a larger area to another, just like such a blot. I located a larger, unharmed area on the left, being slightly larger than the damaged one, and simply dragged it over to the other side.
Smaller lightness defects and texture repetitions were once again removed using Clone Stamp.
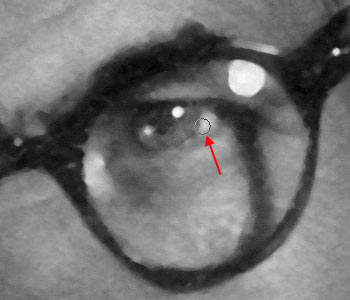
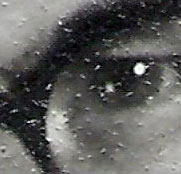
As a last touch, I thought it would do good to emphasize the eyes a bit.
Here’s a useful tip on how to do it.
The final picture will be of acceptable quality when enlarged to about 10×15 cm (4″x6″). Sharpening is hopeless, it would only make fragment details fall apart, i.e., deteriorate image quality.
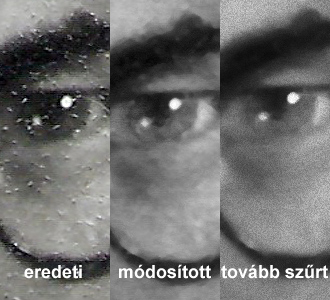
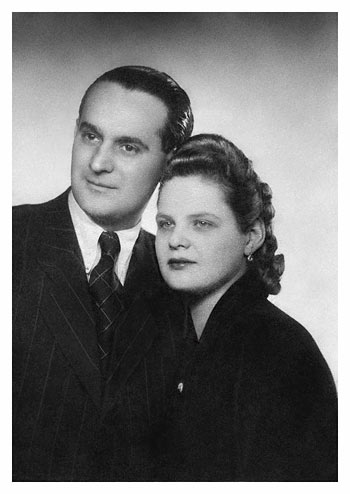
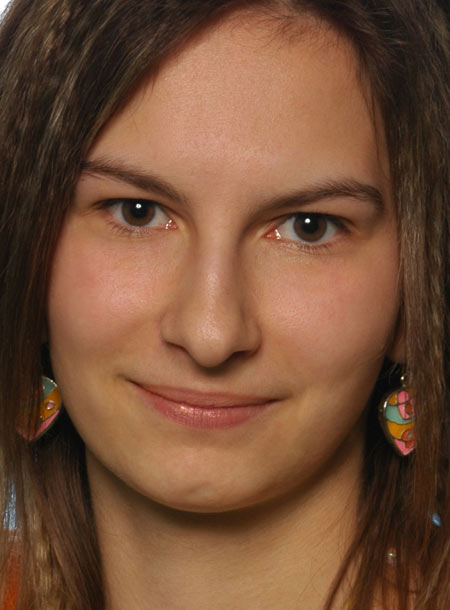
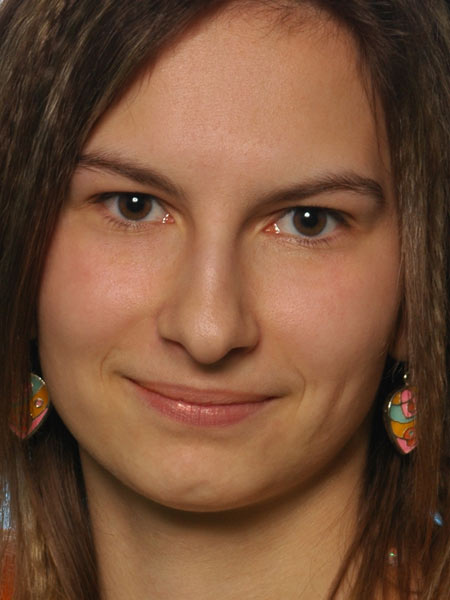
original / modified / filtered even more
As I had a little devil whispering into my ear, I made a second version, getting rid of that analogue feel. Decide for yourself which one you like better.
To do this, I used the Noiseware plugin and washed everything almost perfectly smooth, which, of course, killed some of the details again. Areas lacking contrast were not served well by this, I think, but you can say a portrait photo doesn’t need knife-sharp edges. Analogue-ishness was compensated with a bit of artificial graininess, using OptikVerve Labs’excellent plugin, Virtual Photographer .
Once again, decide for yourself, which one looks better!