Often, our old family pictures are resting in a long-forgotten color film. If you take the time and scan these at last, there’s only one thing left to do with them in order to get their original color back. This is not as simple, however, as it seems at first.
Load the photo

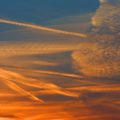
There’s the color film strip page scanned, which we’d like to see in its original colors on the monitor. One would think you simply need to use Invert command in Photoshop, that is, inverting the colors of the image. Well no, not just that.
A new palette
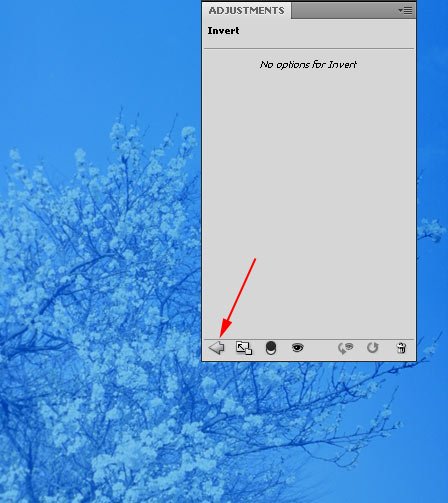
There’s a separate corrections palette called Adjustments in newer versions of Photoshop. If it’s not visible, you can make it appear using Window/Adjustments command.
You’ll need two icons from here, two correction tools. Invert in the bottom row, which has just been mentioned, and Levels in the upper row.
You needn’t worry if you are using an older version of Photoshop. You can reach Invert and Levels command at the bottom of Layers palette, with the fourth icon from the right (Create New Fills or Adjustment Layer).
Inverting colors
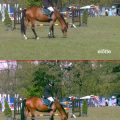
First use Invert, which reverts colors into their opposites. And there’s the problem, the picture did not at all get back its original colors. There’s a powerful blue tinge over the image and the contrasts are weak.
Let’s leave the colors as they are for now, and go on to Levels section, where you can correct these deficiencies. You can return to the icons row above with the arrow at the bottom left of the palette.
The darkest and the brightest
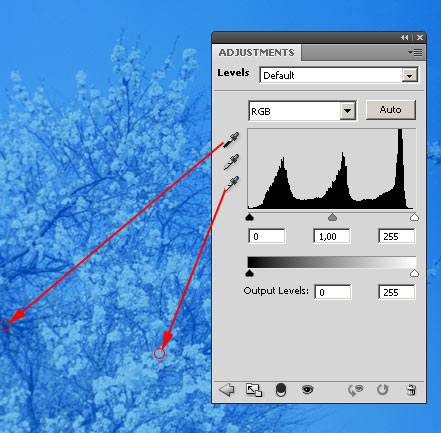
Once you have selected Levels command, you’ll get a new settings panel for brightness levels. You’ll need only two eyedropper tools, which are on the left of the panel. First, select the upper one, which defines the darkest (black) point in the picture. This prescribes the absolute black for the software and the rest will be adjusted to it automatically. In our picture, the shady tree branches should be dark (rather than dark blue), and so we clicked there.
Next, select the bottom eyedropper, which determines the brightest (white) point in the picture. The cherry blossoms in the tree are white originally, so we should click on such a point with it.
Once you are done, you can again exit with the arrow at the bottom left of the panel.
Adjustable
Though we have more or less finished the correction and exited from the panels, the settings we did can still be adjusted. There are two new corrections layers sitting over the original layer in Layers palette. One contains the settings in Invert, the other contains those in Levels. If you wish two make further adjustments in Levels, for example, just double-click the icon of that layer and the panel opens again. You can decrease the opacity of the two layers in Opacity slider, but it could shift the colors again.
You can add a new corrections level as well if you click on any icon in Adjustments panel. It might serve you right to play with colors using Vibrance or Selective Color. They can be adjusted afterwards too, in a separate corrections layer.
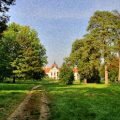
The original colors of the film
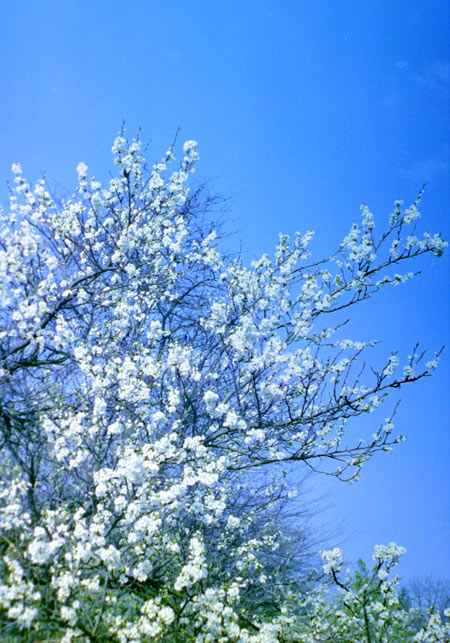
We have got back the original colors of the film, so you can save the image now. In the sample above, we have also tried increasing saturation, We created a new layer by clicking on Vibrance icon. Be careful, since Photoshop offers its own format for saving in the first place because of the multiple layers, so it’s a good idea to unify layers before saving the picture. After that, you cannot make further adjustments in the separate corrections, but if you save the file in PSD, all the layers including the corrections remain editable.