In this Photoshop article, we’re creating a detailed, still painting-like rough-and-ready picture out of a photo. Where’s the contradiction? Nowhere. Five steps and you’ll see.
Load the photo in Photoshop

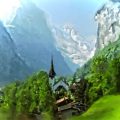
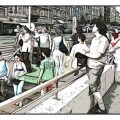
This could be any photo you want to turn into a painting. A portrait, a landscape, a still life or an older building would all be perfect choices. Anything that is often featured in paintings.
Something of an increase
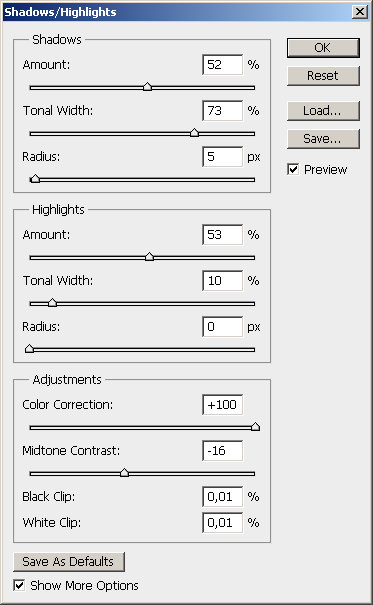
The picture effect can be enhanced using the Image/Adjustments/Shadows/Highlights tool, especially with still lives and landscapes. A strong tone equalizing can make the picture flat and painting-like in itself.
Set Shadows and Highlights Amount to high values. You may also want to do so with Color Correction to get more vivid colors.
Two layers
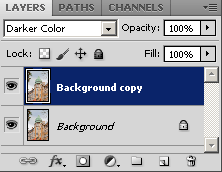
Needless to say, we do this on a duplicate layer, so first of all, click Layer/Duplicate Layer.
Stay on the new layer called Background copy and set blending mode from Normal to Darken Color. Nothing happens? No problem.
Brush strokes
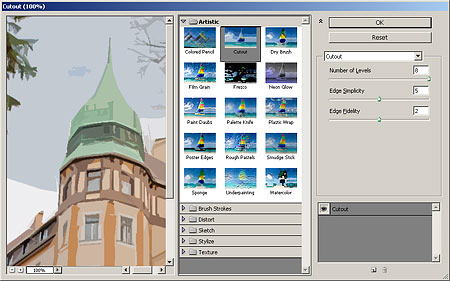
The main character of the painting effect can also be set on the upper layer using Filter/Artistic/Cutout.
We set Number of Levels to the maximum value (8). For Edge Simplicity, we chose a medium value (5). Edge Fidelity was set to 2. Of course you can use different values, according to taste.
Even more homogeneous
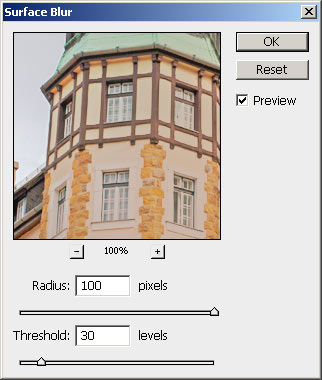
Now, the other layer. Click the lower layer (Background) on the Layers palette and apply a surface blur: click Filter/Blur/Surface Blur. We used the above settings, a very high Radius and a Threshold of 30.
This feature blurs homogeneous areas but keeps most of the details.
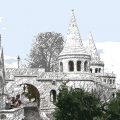
Painted?
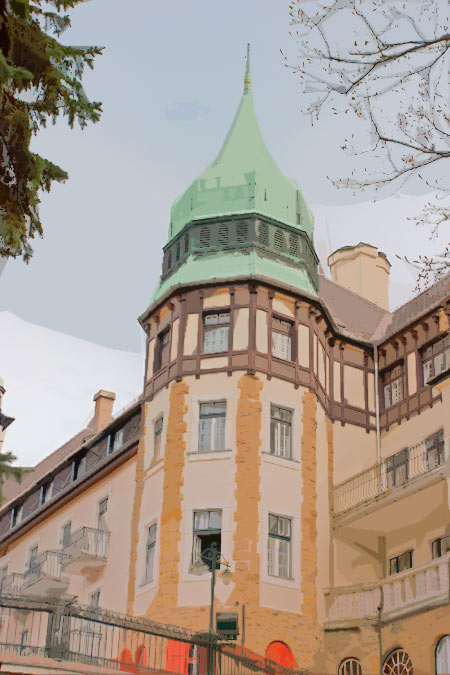
The result is a rough, comic-like picture which still has all the details and a painting feel.