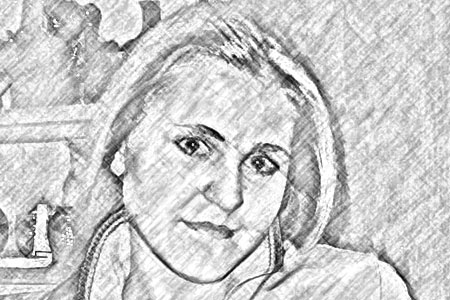
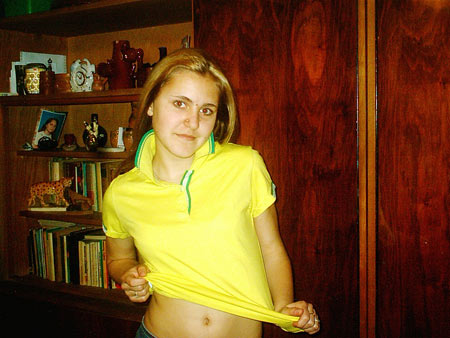
“I would like this to be like a pencil drawing.” Ivett
Dear Ivett, Your wish is our command. We have presented a pencil drawing before in DigiRetus Photoshop articles, so we would have preferred to remove the noise or rabbit eyes, but as you wish.
The range of similar effects in Photoshop (painting, crayon drawing) is practically inexhaustible, you could almost say it’s infinte. There are so many variations that we could spend the whole year dealing solely with them. Let’s not waste words and create something from this image introducing a tool of medium difficulty, which is one in a million.
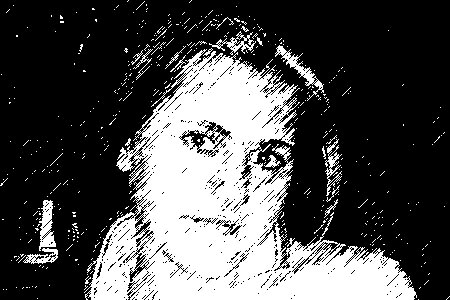
One more thing before we start. Do not use Photoshop filters in themselves if you want a realistic painting or drawing effect. To achieve the image-detail above, we did nothing but use Filter/Sketch/Graphic Pen filter. As the name suggests, this is the pencil drawing effect, but the result hardly resembles a real drawing. The use of layers, blending mode and filters together yields a much better result. If you are okay with the result above, don’t even read on, but if you are interested, you can get familiar with a longer set of actions whose result is much better.
Before starting, check that the foreground and background color of the tools palette is set to black and white.

As a real first step, we made a duplicate layer of the image (Layer/Duplicate Layer). We continued the modifications on the Backgorund Copy layer.
A significant filter among drawing effects is the highly transparent High-Pass filter, to be found under Filter/Other menu. We set 5.0 as Radius value, then pressed OK and removed colors by using Shift+Ctrl+U key combination. The result is shown above.
Layers in all amounts. Or rather, just four. We clicked twice more the Layer/Duplicate Layer menu command thereby tripling our Background Copy. Next we clicked on the top one and continued the editing.
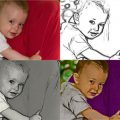
We used Filter/Filter Gallery menu on the top layer. It is a comprehensive collection of Photoshop creative filters. We chose Charcoal effect in Sketch group, which is a charcoal drawing imitation but should perfectly fit this photo. In the right-side settings we set Charcoal Thickness at maximum, and set Detail and Light/Dark Balance (balance of light/dark areas) a bit higher than medium. The pencil drwaing effect begins to show at this stage but it’s still far from perfect.

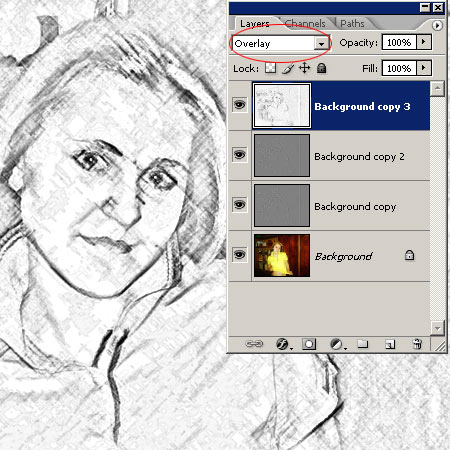
Next, we returned to layers, and set the blending mode of the top one to Overlay. The lines became much more defined but there’s still some polishing to be done.
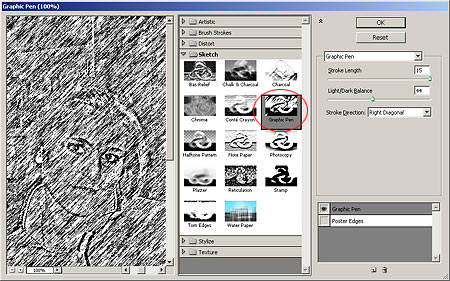
We had finished our work on the top layer so we stepped over to the one below it ending up again in Filter Gallery. This time we selected Graphic Pen effect in Sketch menu -mentioned at the beginning of this article.
We set Stroke Length slider and Light/Dark Balance to somewhere around medium. Stroke Direction defines the thickness of each stroke. It’s a good idea to select Left or Right Diagonal.
Then again we returned to layers palette. Since the drawing effect in the medium layer is to strong, we had to refine it a bit. For blending mode we chose Multiply, while it was decreased by a lower value set on Opacity slider. In our case it was 25%.
The pencil strokes cover the image well, but they are too even yet. A drawing made by hand does not look like this. So we had to made the strokes a but uneven.
Staying on Background Copy 2, we selected Filter/Stylize/Diffuse menu command and then Anisotropic option. The straight strokes became a bit curvy and their thickness vary.

Now only the unification of layers was left with Layer/Flatten Image menu. If you would like a color pencil drawing, click the second layer from below and change its blending mode from Normal to Screen.
The graphic effect could be further polished with applying other filters without an end to it in like 50 layers, but I dare say that the result now looks much better than the “one-click” version.