The freshly released Photoshop CS5 demo is already on our machine, so we are ready to demonstrate the more important image editing features of the new version. We’ll begin with one of our all-time favorites, the lightening of overshadowed pictures. The new version offers a way which is better and more finely tunable than ever, which means you can put the old methods to rest.
Load the photo in Photoshop
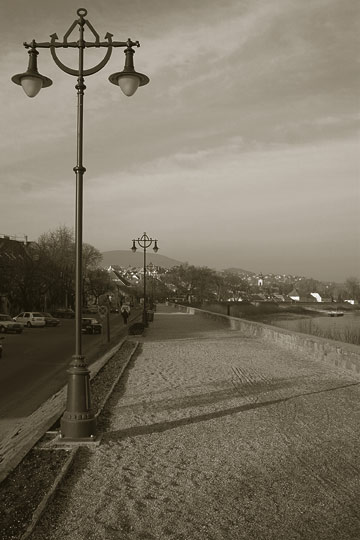
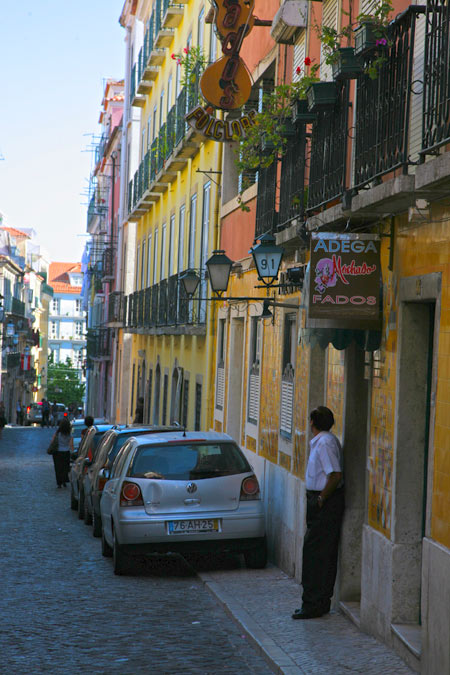
This image is rather dark, at least in the lower and right regions. On the other hand, the background on the left is too light to not be ruined by some additional lightening.
Photoshop CS5’s new pseudo HDR feature offers a solution. Our goal is to lighten the shadowed areas while leaving the already light parts untouched.
Pseudo HDR
You’ll find the new tool under Image/Adjustments/HDR Toning. The dialog contains a large number of sliders.
Under Method, select Local Adaptation, which does a good job by default. All you need to do is refine the results. We used the above settings.
Radius controls how far the lightening goes from the edges. Low values produce a thin, detail-emphasizing effect, while higher ones lead to spotlike lightening.
Strength controls intensity.
Gamma specifies the ratio of light and dark areas: high values bleach the image to grey and ruin contrast.
Exposure controls overall lightness.
Detail lets you increase or decrease detail contrast to produce blurred or painfully detailed pictures.
Shadow darkens or lightens the darkest areas, while Highlight does the same to the lightest ones.
Finally, Vibrance controls the saturation of the most intense colors, and Saturation the intensity of all colors.
The curve
Open the Toning Curve and Histogram area at the bottom to check the tone distribution on a lightness histogram and learn how much dark colors dropped black or light areas burnt out.
The curve on the histogram offers additional control over image lightness. In this example, we won’t be using this feature.
More friendly
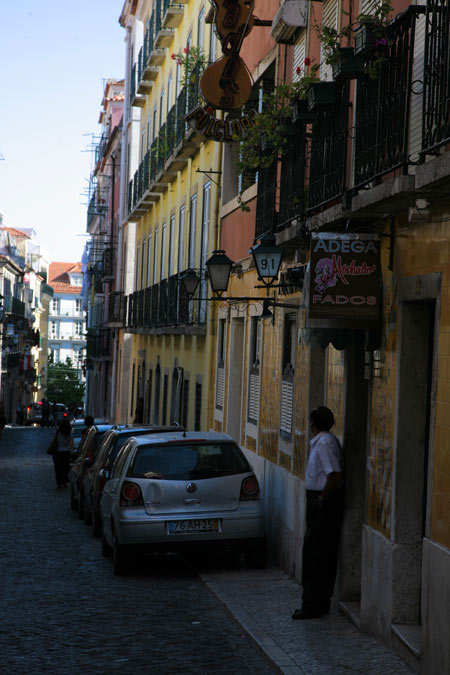
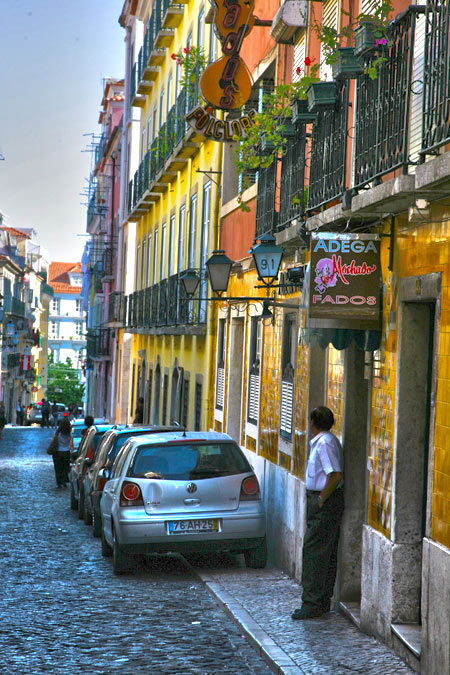
Dark areas in the finished picture are much lighter and more balanced, while the light parts did not burn out any more.
Next time we’ll be continuing from here with a very simple adjustment which will offer a glimpse into another new feature in Photoshop CS5.
Plastic
Significantly increasing Gamma and Radius while also slightly adding to Exposure will produce an overcorrection in tone, which is rather popular on the web. Use the HDR Toning feature a second time as well to reach a truly dramatic effect.