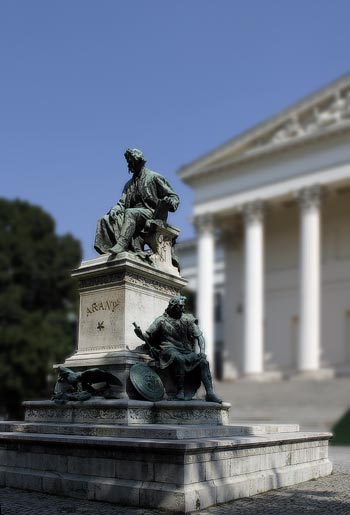
Overemphatic shadows can often ruin the balance of photos, and they can even mask out details. There are several methods and features for retaining balance (e.g. Shadow/Highlights, contained in Photoshop CS and above), but the most effective way is to handle the problem yourself.
We want to reduce the strong shadows cast by the noon sunlight. We don’t need to treat all the shadows in the picture, just focus on the main theme.
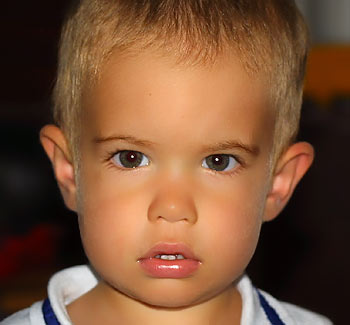
The picture has an overall greenish-yellowish hue, and it could do well with a bit of contrast increase.
 Choose the Levels layer mask on the Layers palette, and, on the appearing dialog, make the midtones lighter. Focus on the shadowed areas of the main theme. Reach a proper lightness for these areas, don’t mind any other parts burning out. In this example, we have set the Lightness value for the midtones to 154. When you’re done, set the general effect mode from Normal to Luminosity, and merge the layers by clicking Layer/Flatten Image. Now you have an overlighted picture, but you’ll only need the shadowed parts of it.
 Now click the camera icon at the bottom of the History palette to take a snapshot of the photo’s current status. It appears as Snapshot 1 at the top of the History palette. Click the empty icon space on its left to display the icon you can see in the illustration. Now you have set this snapshot as the reference image for History Brush. By default, this would have been the original image (the one above it). Finally, click the upper picture to set everything back to the original state.
 Now click History Brush on the Tools palette (or press Y). This brush restores the painted areas to the state they were in the reference image. Choose a moderately large, soft brush that isn’t too large to paint over the main theme’s details with. For delicate work, choose a size of 10-25 pixels.
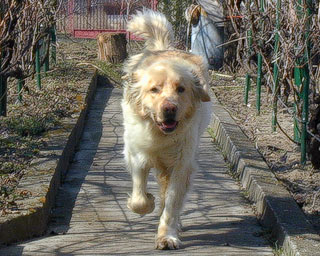
Now start to paint over the shadowy parts of the main theme and see how they lighten up.

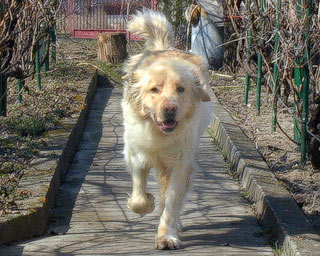
You can see the difference on the right side of the dog.
Take care! Applying this method in excess will ruin the verisimilitude of the photo. Leave shadows on the objects as this gives them spatiality.