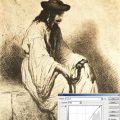
Again we examine a new Photoshop feature which was not available in earlier versions. The Exposure menu item is excellent for later adjustment of a photo’s exposure and light levels; in this example, for making a foggy and blurry image more vivid.
Load the photo in Photoshop
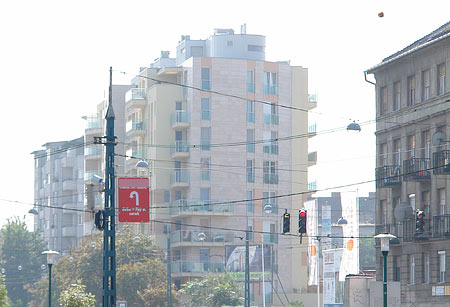
Although this photo is of rather inferior quality, it is perfect for demonstrating how to adjust brightness and contrast. Because of the tele lens, air humidity is more visible than usual. Contrast is low, the picture is dull. We must change that!
Good old…
What else could we begin with than good old layer duplication (Layer/Duplicate Layer). You’ll be working on the upper layer, so make sure it stays selected.
Exposure

Click Image/Adjustments/Exposure. The appearing dialog contains three sliders, and in the lower right corner, three buttons. The latter can be used for quick light level adjustments.
Let’s begin with whites. Click the rightmost button (the white eyedropper), and then click a point in the picture which should be white. This is how you tell the software “this is white”. Photoshop then adjusts light levels accordingly. After clicking, use the Exposure slider to fine-tune whites.
Black’s turn
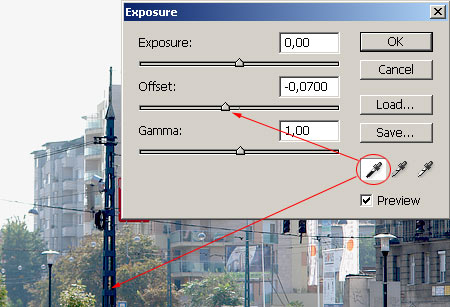
Now you can specify the darkest spot in the picture. Use the left side button (the black eyedropper), and then click the point in the picture which you think to be the darkest. If you’re not satisfied with the result, click another point. Light levels will change accordingly. In the end, use the Offset slider to adjust darkness.
Gamma

Midtones are very important as they determine the light levels of the picture as a whole (unless you have an almost completely black or white image). For more vivid contrast, drag the Gamma slider to the left. Further objects, disappearing into the haze, can be emphasized nicely this way.
Merging
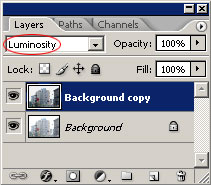
The last step is selecting the Luminosity blending mode on the Layers palette. This guarantees that only lightness values change (hopefully for the better), but colors remain untouched.
Out of the blue
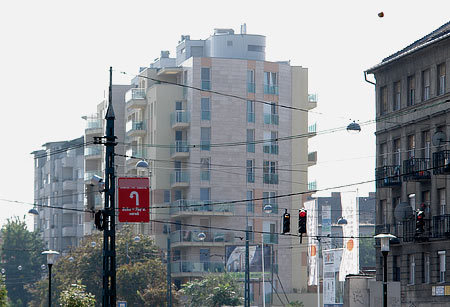
…or rather out of the mist. Contrast has increased, and the greyish mist has vanished.