We’ll resort to two old friends here: Lab color mode and control of Brightness/Contrast increase. We have talked about both of them in other articles, but they have never been staged together before.
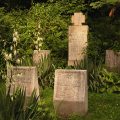
Load the photo in Photoshop
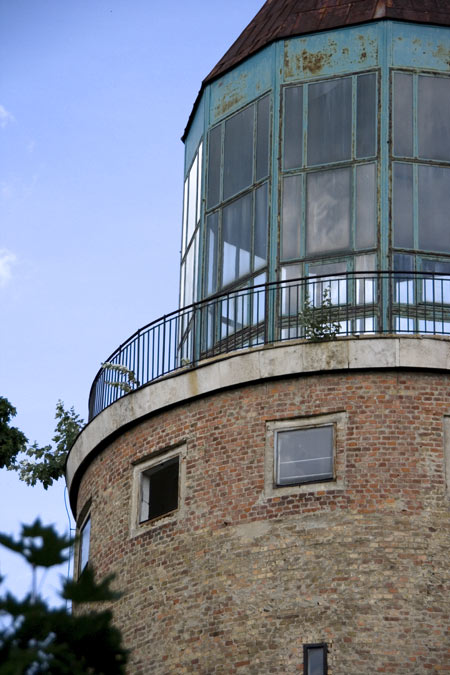
This pretty dark photo clearly needs brightening. What if we do it in a way that it does not affect colors?
Light in the laboratory

We are in the usual RGB color mode, which has three color channels. The brightness of the photo will influence all three. The solution is Lab color mode, which is to be found under Image/Mode/Lab color menu. Change to this mode, then click Channels palette, where you can see the channels you got. Now we have two color channels (a and b) and a Lightness channel. This is an excellent ground for setting the brightness values of the picture. Click on Lightness channel so that it is the only selection here.
A usual method

Click good old Image/Adjustments/Brightness/Contrast. Increase the value of Brightness slider. Meanwhile you can check as contrast decreases. This can be adjusted in the Contrast slider below Brightness.
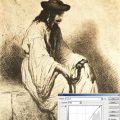
Bring the mouse pointer over the image and click to any area to see the brightness value of that certain part. Make sure that the brightest parts do not get bleached and the dark parts do not turn into constant black either, keep checking these areas. Choose two points in the picture. These should be the brightest and the darkest ones or somewhere near. While increasing the sliders click on them sometimes and check the Color palette value. Keep the bright point under 255-255-255, while the dark one under 0-0-0. If you haven’t reached these values yet, increase the sliders carefully and check brightness of the two points again and again.
Be careful to keep the limits.
The picture above shows the value of white point and dark point when the brightness and contrast are both set to +25. The white set to 248 is quite near the absolute white level (255), and our eyes can hardly differentiate between the black set to 8 or the lowest zero.
It is important that both ends of the contrast range appear if we want a life-like contrast.
Once you have finished, shift back to RGB color mode in the Image/Mode/RGB color menu.
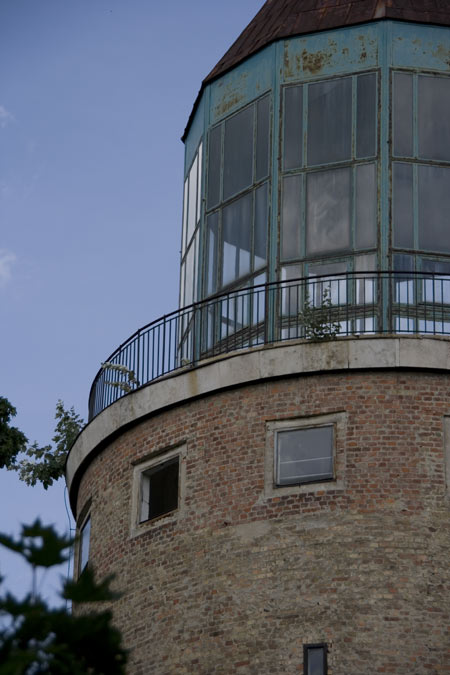
Renovated
Using the steps above you’ll get more defined a microcontrast than by simply increasing brightness and contrast in RGB color mode.
If you find the result too faint, you can go and browse among our tutorials on increasing saturation. In fact, we have increased the colors of the resulting photo.