One of our favorite plugin developers, Topaz Labs, have released their newest Photoshop add-on, InFocus. Not only for good old PS, but also for Lightroom and Apple Aperture.
InFocus is a sharpening plugin. I know Photoshop has loads of such features, and if they are not enough, you can use tons of other methods for sharpening, but still, something new is always interesting, and this approach is slightly different from the familiar ones Sharpening is one of the most important areas in image editing, so we gladly took the trial version of this software under inspection.

Talking about a plugin, the 37MB you have to download and install is rather terrifying, but no worries! Setup is quick and semi-automatic. You don’t have to specify or type anything, so there’s nothing to go wrong.
After starting Photoshop, you’ll find InFocus in the Filter/Topaz Labs submenu, and it will open a work dialog like this:
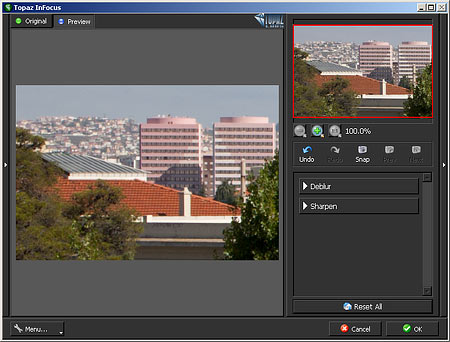
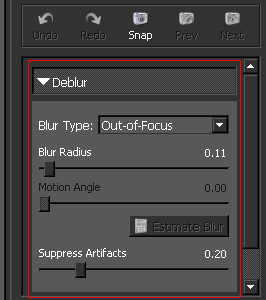
You have two separate sections which can be active at the same time. The Deblur region helps you revive pictures which have lots of motion blur or are about hopelessly unsharp. Of course, no software can work miracles, but with some attention, you can get really fine results. But for a while—until the next occasion—leave those blurred pictures behind, and deal with healthy photos that still need some sharpening.
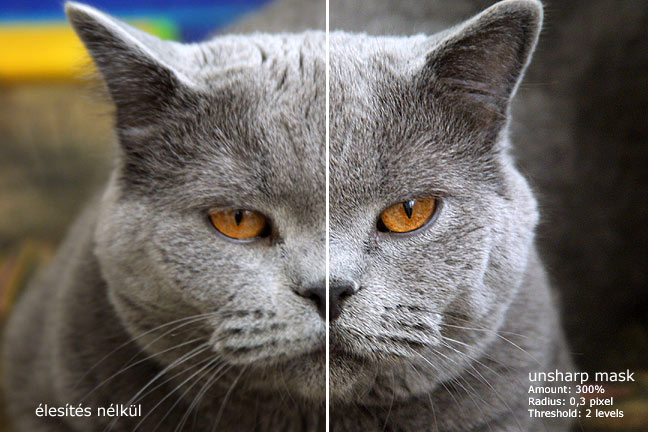
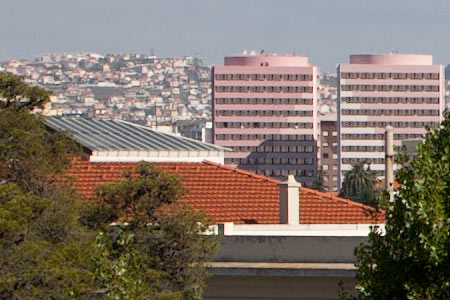
Here’s a picture part on 100% zoom, with foliage, detailed background, homogeneous areas and regular shapes. A photo with good many details, but a bit too soft. The only thing it needs is a really small detail enhancement. Let’s see how InFocus deals with it!

This is where the other section called Sharpen comes into the picture. You won’t be lost among the controls. All you have is three sliders, a few buttons at the top to Undo and Redo your changes or saving a Snap shot of the current ones. The last two buttons (Prev and Next) switch between these saved settings. This is a very useful feature as you can compare current sharpening settings to, say, those three steps before, in a moment.
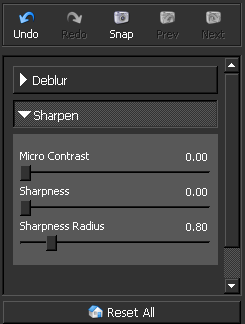
Before taking control of the sliders—especially if you used the plugin before—you may want to click Reset All. The plugin stores the settings you used the last time, and offers them for your new image as well. The button resets all the settings so that you can begin from scratch.
Of the three sliders, Sharpness and Sharpness Radius may be familiar to those who use Photoshop’s Unsharp Mask often. Sharpness here is the same as Amount there, controlling the intensity of sharpening.
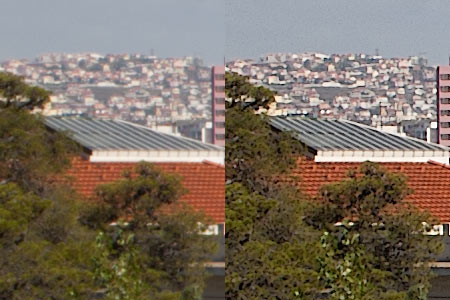
On the left, you can see 0 Sharpness, and on the right, the maximum value:

Sharpness Radius is the same as Radius in that feature, controlling the width of the area which gets sharpened, along the edges. Lower values give fine, thin edges, while higher ones produce thick, rough lines.
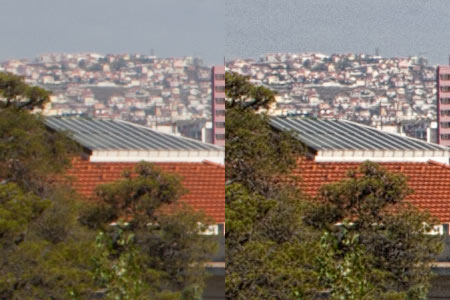
On the left, you can see minimum Sharpness Radius, and on the right, the maximum value:
The above examples illustrate that both sliders are capable of much finer sharpening than Unsharp Mask, which is using large values.
What’s really interesting here is the Micro Contrast slider at the top. Microcontrast is the enhancement of fine details. You should use it when you not only want to bring out the edges, but also make smaller details so sharp they’ll hurt the eye. Take care with it though, as it cannot make a difference between noise and actual details, so setting it to overly high values will enhance existing noise as well. Increasing microcontrast will also affect the picture without using the other two sliders.
On the left, microcontrast turned off, and on the right, the maximum value:
Now let’s see some more reasonable settings with Micro Contrast at 0.35, Sharpness at 0.50, and Sharpness Radius at 0.60.
We only needed a fine sharpening to enhance the details, and the plugin fulfilled this need completely. Noise level may increase slightly in shadowed and homogeneous areas like the bottom part or the sky in the above picture, but you can easily fix that using Photoshop’s History Brush.
Topaz Labs’ InFocus sharpening plugin is a mandatory piece for everyone who wants something more refined than Photoshop’s own filters. The demo version can be downloaded without registration from the developer’s web site and used for 30 days at no cost. The full version can be purchased for $69.99.