The latest version of the “Big” Photoshop had Vibrance as a new feature to make a photo appear brilliantly colorful beyond just increasing normal saturation. Nevertheless, if you have only an old Photoshop Element at your disposal, there’s no reason to lose heart. Do some tricks with the layers and you’ll boost the colors on your photo.
Load in a photo in Photoshop Elements

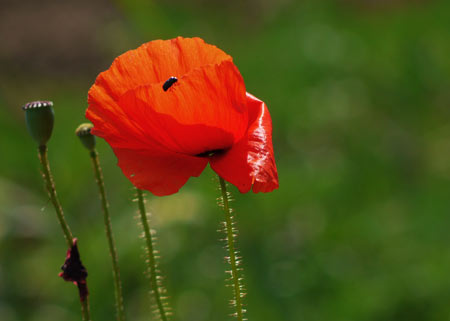
The photo of a flower is a rewarding subject here as the colorful composition can always do with some increase in saturation.
Sweet threesome
Duplicate the existing layer with the Layer/Duplicate Layercommand. You can designate any name to the new layer in the As point in the window but it’s not necessary to give it a name.
Once we are here, make three layers, that is, repeat the previous action. This way you’ll have three layers with the same image content, from which you’re going to work with the upper two, while the bottom one remains untouched.
Blurred top
You are on the topmost layer. Blend it into one color with theFilter/Blur/Average command. Next, set the mode of the layers palette to Luminosity.
Merger
By continuously pressing the Ctrl key, select the topmost and the middle layer and then merge them with the Ctrl+E short key or the More/Merge Down menu of the layers palette.
Vibrating layer
This way you’ll get a unified layer that contains color data. You can merge this with the original untouched photo with the help of the mode called Overlay. The extent of color vibration can be decreased in the Opacity slider. We used 70% here.
Colors, get a life!
Another Ctrl+E, and the last two layers have been unified as well, and you can save your photo as a JPEG presenting much more intense colors than at start.