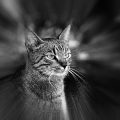
We are now imitating the dark image with blurred edges effect of the camera obscura in Photoshop.
Load the photo in Photoshop
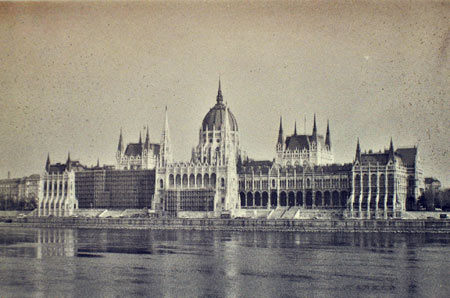
It’s beneficial to choose a photo for this task that is old or agened. Camera obscura effect also looks good in a black-and-white, bleached, cross-developed photo.
Our aim is to keep the center of the photo sharp, and the edges should become significantly blurred and darker, just as if the photo was taken by a rudimentary camera obscura.
Only the center
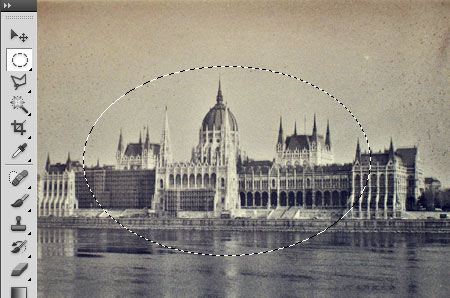
First, select the area you would like to leave as it is. This should be the middle section of the image, of any size you like.
Use the Elliptical selection tool in the tools palette (key M).
Softly
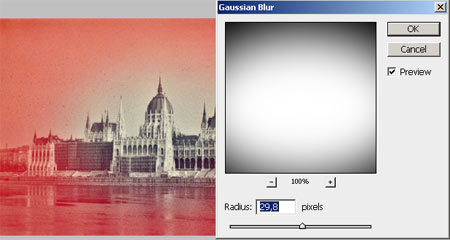
You don’t need a sharp selection, the transition at the edges of the blurred and darks areas should be as soft as possible. Therefore hit the key Q, which will take you to quick mask mode, and the software signals the masked areas in red, which is the untouched part. This section can be blurred like any other part of the image.
Choose Filter/Blur/Gaussian Blur filter for the blur, and set a medium high value. In our case it was around 30 pixels, but a bigger photo may require a higher value. The center should remain white, but the transition should be soft to.
You can quit quick mask mode by again pressing key Q.
Blurred lens
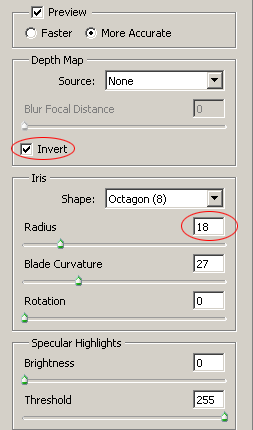
We have arrived at the most important step, for which click Filter/Blur/Lens Blur filter. This will create a real blur with optical effects.
You need to pay attention to two things with settings. One is checking the Invert box. Without doing so, Photoshop would blur the central area when we want to blur the edges instead. Next, you can set the strength of blur with Radius, set it to a value of your liking.
Inverse selection
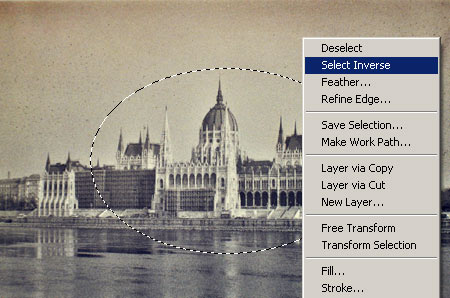
Once the edges of the image are blurred (this is not shown in the images above yet, but you will see it in your picture by now), right click with your mouse at the image and choose Select Inverse from the drop-down menu, which will invert the selections made so far. You can do the same before step 4 if you like, in which case you don’t have to check the Invert box and you can omit this step.
Dark edges

Now the edges are selected, so we will darken them. Image/Adjustments/Exposure menu will yield quite good result. In the appearing window you will need Gamma Correction slide, which should be shifted to the right. You can choose any value you like again, meanwhile checking the changes in your photo.
Through a whole
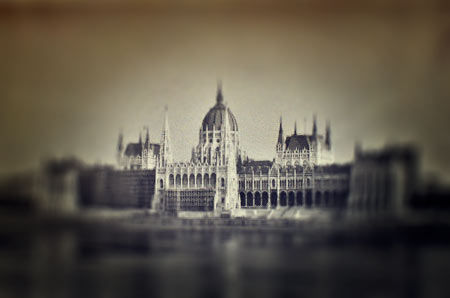
Sharp image center, blurred and dark edges, just as I promised. As if this photo was taken with the rudimentary “lens” of a camera obscura.

