We’re going to color a black-and-white photo in Photoshop.
 It requires quite some work and no less patience to adequetly color a black-and-white picture that has a lot of colors and hues originally. Still, we’re going to try one of the more simple ways. Then you can have a shot at a more complicated version on your own.
This work is not much different from children’s coloring books. We take the color we want and get down to coloring certain parts of the picture. However, some settings and helping tools come handy in our efforts to achieve proper results. This article practically lists these.
Let me add here that coloring has a thousand versions, just like any other Photoshop method. The one we are detailing here is just one of them.
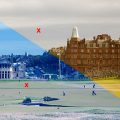
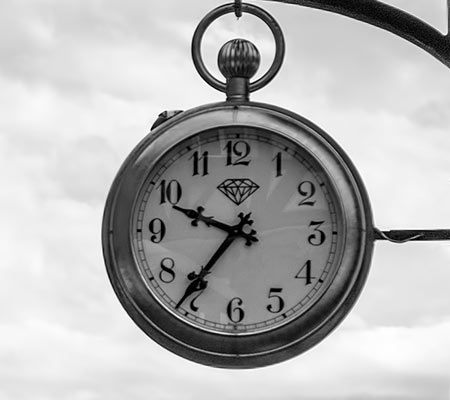
So, choose a black-and-white pic. We are going to use only two colors in this one, which is not exactly rich in details.
Step 1:
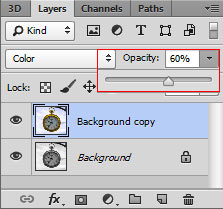
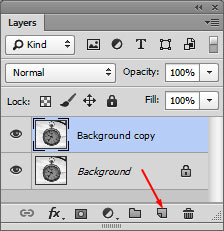 The first step is very important. Duplicate the existing layer.
Simply drag the pointer in Layers palette to the icon indicated with the arrow. Then set the blend mode of the two layers (which is now Normal) to Color. Thus the colorings on the upper layer will show in the bottom one too. Mix the two layers or make the upper one more transparent to decrease color vibrancy.
Step 2:
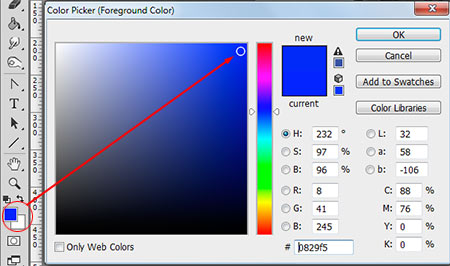
Choose any color. We are starting with the sky. We have selected a more vibrant blue by clicking on one of the two main colors (the foreground) at the bottom of the toolbar on the left.
Step 3:
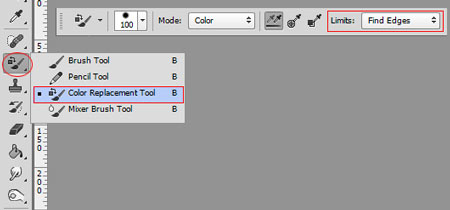
Select Color Replacement Tool around the middle of the same toolbar. You’ll also find Brush tool here: keep the left mouse button pressed over it and its menu will drop down, where it can be then selected.
It’s important that you leave everything in the options row at the top of the screen unchanged. But change Limits to Find Edges. This way the coloring brush will look for edges in the picture and will paint only from edge to edge, so no problem if you accidentally move over a line.
Step 4:
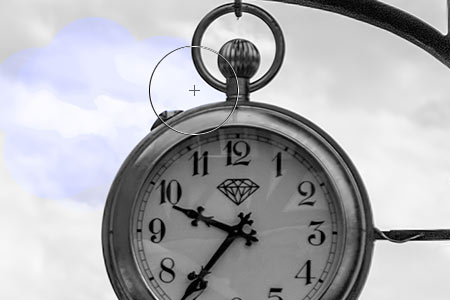 Let the coloring begin. For bigger areas such as the sky, set a bigger brush size, while for the small and fine details use a smaller brush.
We took a bigger brush and set down to paint over the sky. It’s a good idea to proceed with small clicks rather than continuous brush strokes because this way you will not run out of the line and into areas that you don’t want to paint over. It wouldn’t be a tragedy either as we have just turned on the edge limits, so the program considers the cross in the middle of the brush with every stroke and it colors the area based on the brush size, except if it runs into an edge. It does not paint over an edge. The point is you should not run the cross over an area that you don’t want to color. If you do so, however, just draw back the last step on History palette or by pushing Ctrl+Z.
Step 5:
When you are done with coloring an area, repeat points 3-5. Choose a new color, set a new brush size and start painting over a new part.
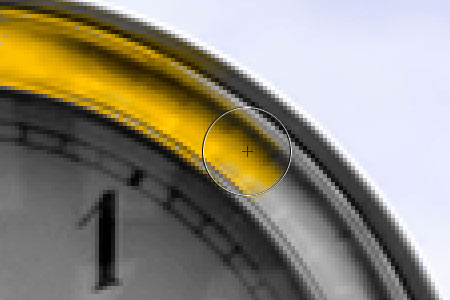
This time we painted over the edge of the clock with an orange-beige color and with a much smaller brush. You need to be more careful here, and so the clicks were also slower and smaller and more tentative. It’s pretty good to zoom in the preview too so that your work can be more precise.
Step 6:
When you are done with all the colors and you find them too strong, turn the upper layer more transparent and reduce saturation using the layers palette Opacity slider. The result will be more natural.
Step 7:

Surely, a picture that was re-painted will never be as natural as if it had the original colors but the result can be quite satisfying if you pay attention and use several hues.