Though this site usually deals with improving or playing down photos, this time you are in for a lesson in drawing, which barely touches the topic of brushing up a photo. At least, it helps you get to know how Displacement Map works. So, we are going to turn a plain photo or pattern into a waving flag, but you can also use this method to mimic fabrics or something similar.
Clean sheet

Instead of the usual “Load the photo” starting step, now we are opening a new sheet, on which we can draw the texture of the swinging flag. No worries, those clumsy at drawing can also get down to it. The bulk of the work will be done by Photoshop anyway.
Create a big empty canvas with a white background under File/New menu. We made a size of 1600x1000pixels, but it’s actually up to you.
Select brush from the tools palette then set fading brush stroke. A value of 50 at Controls: Fade yields quite a good result.
Zebra?
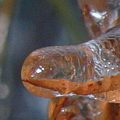
Using medium and thick black brushes make random strokes at the canvas. Not too thickly and not to sporadically either.
Waves from the animal
We will now turn the somewhat animal-like pattern into waves, and the first step is to blunt the edges.
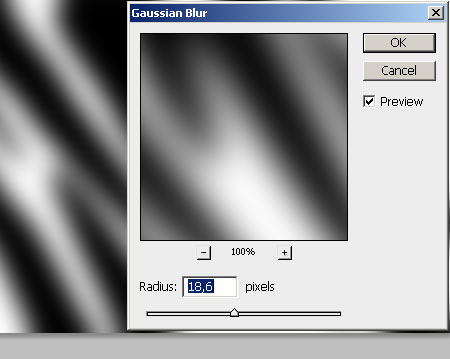
Set the grade of blur under Filter/Blur/Gaussian Blur menu that will nicely blur the lines until they resemble creased waves.
Shiny here and there
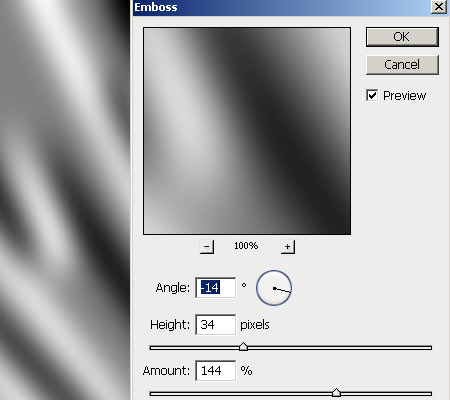
You can emphasize the waves using Filter/Stylize/Emboss, where you can “highlight” them against the shady parts. You can achieve this by setting Angle. Experiment with the illumination angle to find out where it results an effect resembling a creased texture. Set Heightlow and Amount high.
Once the crease texture is finished, save it in PSD. Say, flag.psd.
Don’t close the panel.
Flag pattern
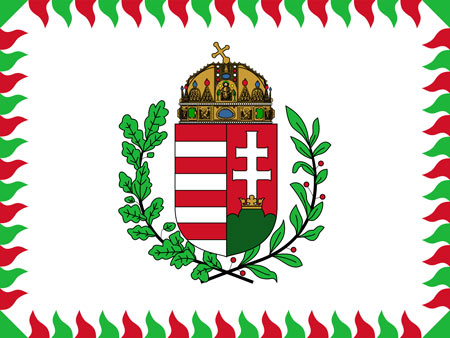
Now comes the flag, which you can draw if it’s simple but here we have chosen a Hungarian army flag with a herald in it, which would require considerable skill of the hands. Better to download it from the internet.
Open the picture in Photoshop, then copy it to the clipboard (Ctrl+Afor selection and Ctrl+C for copying).
It’s not yet waving
Return to the previously made wavy texture, place the flag over it using Ctrl+V, which will appear on a new layer.
Bring them together
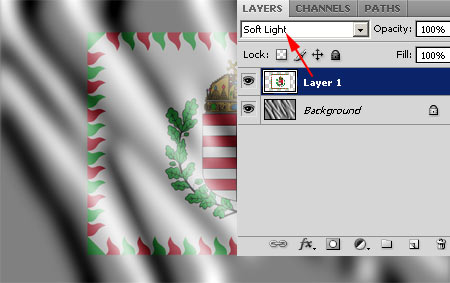
You’ll need some sort of a layer blending mode in order to make the pater and the texture really meet. You can use Multiply or Opacitysettings, but we preferred Soft Light.
It’s getting into shape now, but the fag is still not waving and the pattern doesn’t follow the waves.
Let there be waves.
You’ll need the psd file, which is equivalent with the bottom layer for faithful waves. We’ll now open it as the so-called Displacement Map, which distorts the desired layer, here the flag pattern.
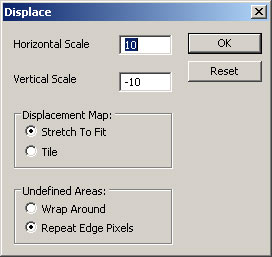
All you have to do is stay on the flag patter layer and click Filter/Distort/Displace order. In the opening panel, set the values shown here, i.e. the amount and basic characteristics of the distortion. When you hit OK, PS will ask for the “map” of the distortion, the Displacement Map. At this point find and select flag.psd saved earlier.
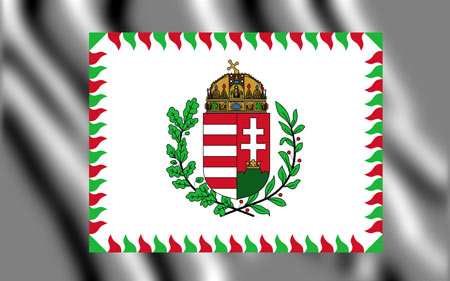
Since the saved displacement map and the swinging texture are the same, the software will place the same creases onto the flag as the ones in the texture below. The herald and everything else will follow the curves of the waves.
Without edges

The waving flag is now ready, but we don’t need the edges any more. Select Magic Wand tool and remaining on the layer of the flag pattern (Layer 1), click outside the flag to select the unwanted background and edges.
Next, click on Background layer and then Delete. The edges will disappear.
Hey, our flag is…
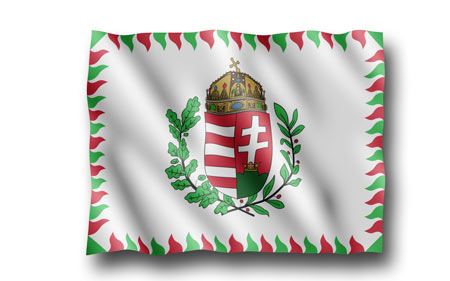
An additional shadow effect on the pater layer or brightening the layer below for less shady waves, and your 3D flag is ready.
There more potential in Displacement Map, and so we will discover and even more interesting application later on.