This Photoshop article won’t help you make your photo better. On the contrary, it’ll tell you how to create a very strong distortion to imitate the visual effect of a fisheye lens. After a bit of searching, you’ll find the suitable tool in Photoshop.
Load the photo in Photoshop

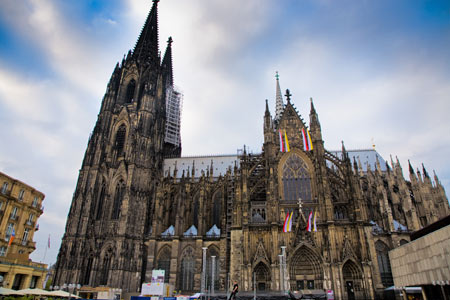
Choose a picture with regular geometric shapes if possible, since these make the fisheye effect more prominent. For example, a comprehensive building photo is an ideal choice.
To quickly contradict our own theory about geometric forms, there’s another area where fisheye effect works in an interesting, or even funny way. This is portrait photography, although if the portrait was not originally taken with a fisheye lens, it will be hard to imitate the same effect afterwards.
For now, we’ll walk the easier way using the picture of a building.
Selecting all of it

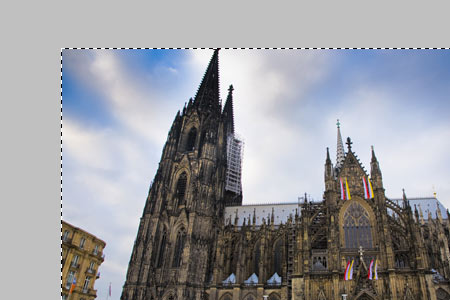
It is very important to select the entire photo before starting to distort the picture. Press Ctrl+A to do so simply.
There it hides in the menu
![]()
The selection in so important because this is the only way to activate the Edit/Transform menu item, and the Distort feature underneath. Click the latter, and then the marked icon on the right side of the options bar above the picture. This makes accessible the Warp menu on the left, and it is there that you’ll find the Fisheye option, used to achieve the effect. Select it!
The extent of distortion
![]()
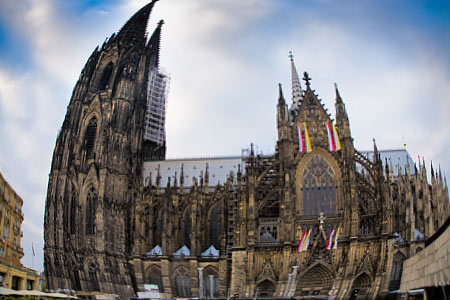
This is the place where you can control the intensity of the effect as well, using Bend. The default value is 50%, and can be changed between -100% and +100%. Value 0 means an undistorted, i.e. unchanged state. Don’t use a negative value as it will shrink the middle of the picture. Stick to something about 50% first, and increase the setting if it isn’t enough. When you’re done, click the check mark at the right of the options bar to finalize the picture.
“The world in my (fish) eyes”

The effect produced is similar to that of diagonal fisheye lenses, although a real lens would give much better results. The software method’s main weakness is that it pulls apart the pixels in the middle and thus leads to sharpness loss in that area, while the peripheral areas of the picture will become crunched together and therefore much sharper. Because of this, it is recommended to start with a high-resolution photo and reduce the size after applying the fisheye effect. This way, sharpness loss will be less annoying.


