If it is not intended for artistic value, skewness is an unwanted phenomenon in your photos. The skew horizon of a landscape evokes a feeling of uncertainty in the viewer. Fortunately, the problem can be resolved easily and quickly. You needn’t even guess the rotation angle, Photoshop does it for you.
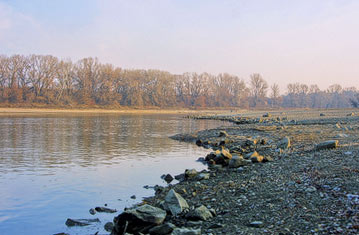
In this example, we want to bring the inclined horizon back into balance.
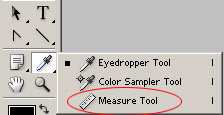 Select the Measure Tool on the Tools palette (or press I). By default, the Eyedropper Tool is selected, but after holding the left mouse button pressed for a second or two, a list appears that also contains the Measure Tool.
Click with the Measure tool on one end of the horizon, and drag the pointer to the other end, then release the mouse button. The measuring line must follow the skewness of the horizon.
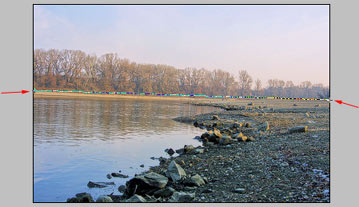
Click Image/Rotate Canvas/Arbitrary in the menu. The rotation angle will be the inclination of the measuring line, In our case, 1.86 degrees.
Click OK to rotate the picture.
The rotation leaves strips of the background color at the edges of the picture. We need to remove them. Select the Crop Tool (press C), and drag a rectangular marquee inside the picture. You needn’t be very precise as you can set the exact size and position by dragging the corner points. After you’re done with the sizing, press Enter to activate the Crop Tool and get rid of the unwanted side strips.
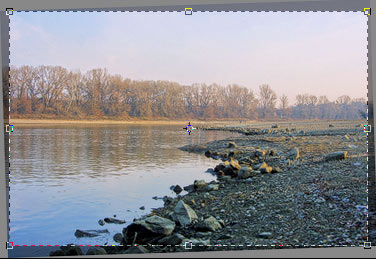
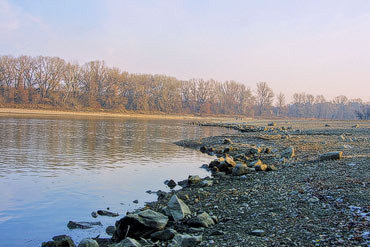
The final result: