We attempt the impossible, to imitate an effect that cannot be emulated. Let us warn you in advance, we won’t fully succeed. Polarization filters are primarily used for eliminating or reducing non-metallic reflections. This is the reason for their color contrast enhancing effect that darkens the sky’s blue color and makes such filters popular in landscape photography. The various reflections cannot really be eliminated by means of post-production corrections, but the latter effect can be emulated relatively well. This is what we’ll try now.
This method can be chiefly used when doing landscapes as this is where the desired effect (darkening the sky and increasing color contrast) can be reached best.
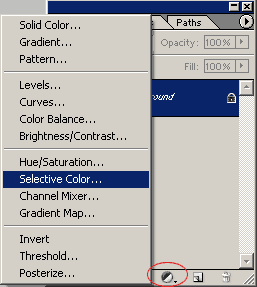
Click the indicated icon on the Layers palette, and choose Selective Color from the list.
Select Relative at the bottom of the dialog, and apply the following settings while selecting the appropriate color groups from the Colors dropdown:
Reds
Cyan: 0
Magenta: +20
Yellow: 0
Black: 0

Yellows
Cyan: 0
Magenta: -30
Yellow: +25
Black: -10

Blues
Cyan: +100
Magenta: +100
Yellow: -10
Black: +100
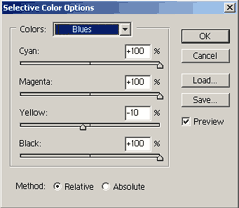
Do not modify the other color groups! Click OK when you’re done.
Now you have a Selective Color layer that contains the color settings specified above.
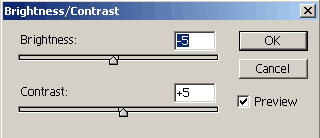
Now click the indicated icon again and choose Brightness/Contrast from the list. Set the following values on the dialog, and click OK.
Brightness: -5
Contrast: +5
Select the appropriate layer and use Opacity on the Layers palette to refine the effect. When you’re ready, click Layer/Flatten Image to merge the layers.
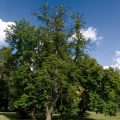
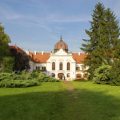
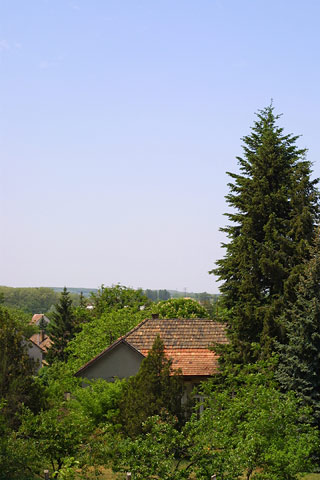
before / after