It is not always true that cheap things aren’t worth much. Or if it is, then it is also true that an exception proves the rule. The exception, in this case, is the Virtual Photographer plugin by the German optikVerve Labs, being excellent and free. The plugin‘s basic concept is to enrich digital photos with the visual world we know from film photography. That is, you can make your freshly taken digital photos look granular, bleached, sallow and old.

Download and install
You can download the plugin free of charge from the developer’s website, and as it is a zipped exe file of only 273K, you don’t need a broadband connection or a huge hard disk. As yet, Virtual Photographer is only available for PC (Win) owners. When unzipping, you can set the destination folder path. You should directly set the plugin directory of your image manipulation application. If you’re using Photoshop, it is usually C:/Program Files/Adobe/Photoshop xx/Plug-Ins. If you unzipped the file somewhere else, copy the optikVerveLabs folder you’ve got to the indicated location.

After starting Photoshop, you’ll find the optikVerve Labs submenu, and in it, the Virtual Photographer plugin at the bottom of the Filter menu, among the other plugins you have installed.
User interface
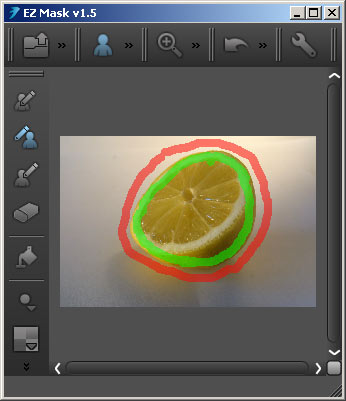
When you open the plugin, you’ll be greeted by this window. Of course, you’ll need to open a photo first to do so.

Region 1 should be familiar for everyone. This is the picture you’ve loaded. The +/- buttons in region 2 can be used to set zoom between 6-100%. The 100% button right next sets the view to full size, while FIT makes the image fit the viewing pane. If you only see a part of the picture, click the image and drag it as needed. If you issue a modification command in the right side of the window, click the picture to toggle between the original and the modified version. The ‘?‘ button opens the English help on optikVerve Labs‘ web site.
Modifications can be carried out with the controls in the right side of the window. The simplest way is using a predefined preset (region 3). You can choose from 23 colored and 33 monochrome presets by default, but you can download more of them for free from the developer’s web site.
You can load any saves by clicking Load (region 6). This sets all controls to their saved positions, but can be freely changed and saved again by clicking Save. We have selected the preset called Old Newspaper in the picture below.
Region 4 is called Film Type, and lets you select the type of your imaginary film. Film 1 and 2 are like negatives, while Slide 1 and 2 are like slide strips. The latter ones give you more contrast. The choice also affects the graininess of the picture, which can be changed later.
There are two sliders under the type radio buttons: One is for brightness, the other for contrast.
Region 5 contains the controls for graininess. It is determined by Film Speed, the sensitivity of your imaginary film. You can select values of 25 ASA (ISO), 100, 400, 800, or 1600 ASA. The higher the value, the more grainy the picture will be. After selecting film speed, graininess can be further tuned by the slider below between +/-10.
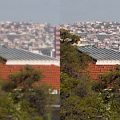
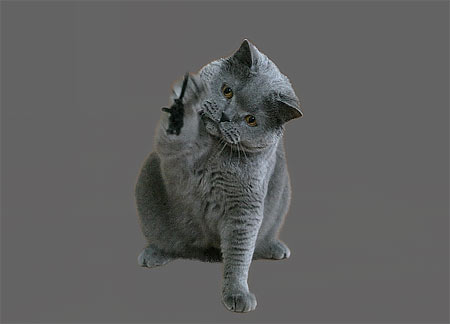
The examples below show the effect of these settings. The part on the upper left is from the original.

The basic film effect is provided by regions 4 and 5, but more effects, mainly color filters can be used in region 7 (Photographic Style). These can be toggled with the On/Off check box above, if you only need to emulate the film effects and don’t want to touch the colors.
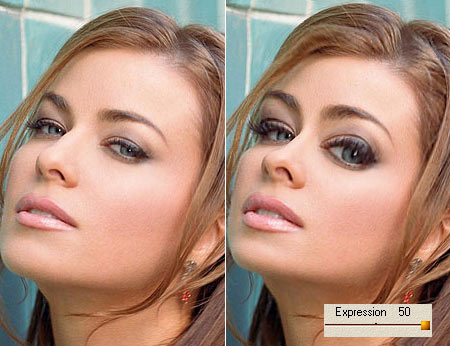
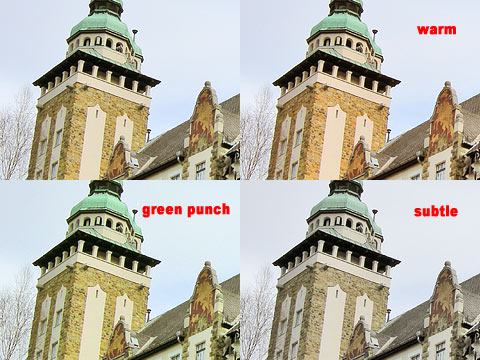
At the top, you can find five basic presets for color modification:
Original: Leaves the colors unchanged.
Warm: Warm color tones.
Cool: Cool color tones.
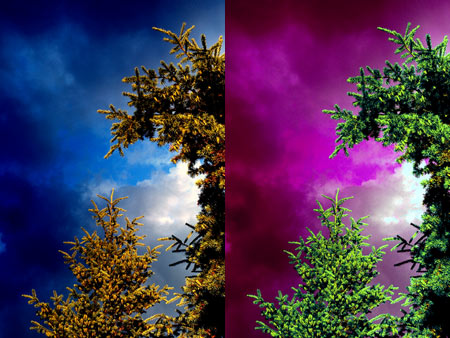
Green Punch: Enhances green hues (mainly for emphasizing vegetation).
Subtle: Subtle colors (mainly affects saturation).
The slider below the radio buttons sets effect strength between +/-20. Select the B/W check box in the lower right corner to display different controls: Red Filter, Blue Filter, Green Filter, and Picker (for a custom filter). These apply a virtual color filter glass on your imaginary black-and-white film. You can define a custom filter with Picker.
Effect at the bottom of region 7 opens a menu that contains 21 different effects. You can find effects for increasing contrast (Contrast, Clear), softening (Soft, Softer, Softest), color washing (Wash), using custom filter glasses (Red, Blue), and shifting (Shift right, Shift left). You can set the effect strength with the slider below the dropdown.
We’ve already mentioned the B/W (black-and-white) check box. This gives a monochrome picture that can be the traditional black-and-white, but you can also choose various warm, cool, antique, etc. color effects.
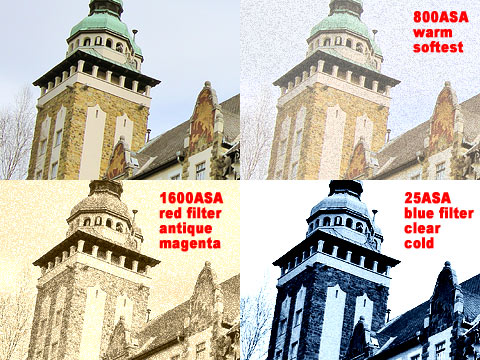
In practice
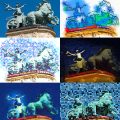
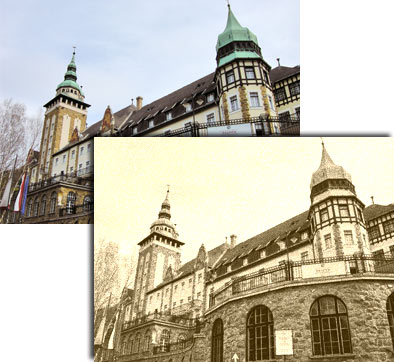
In the samples below, we have played with the settings the plugin offers, so that you can see how many different results can be produced from the same photo. A bal felső kép most is az eredeti állapotot mutatja, tőle jobbra egy 800 ASA szemcsézettségű filmhatás látható, meleg színszűrővel (Warm) és erős lágyító effekttel (Softest). The lower right looks like a sallowed old photo. The settings are 1600 ASA (for strong graininess), B/W and a Red filter. The effect has an antique feel to it, and we have used the Magenta color under B/W. The lower right picture is clear, has a very sharp contrast and a blueish hue. Clarity is provided by the 25 ASA sensitivity setting. B/W with a Blue filter is responsible for the bluish hue and the sharp contrast, that is further strengthened Clear effect and the Cold setting.
As you can see, Virtual Photographer is a very versatile tool. It can be used to create numerous “artistic” effects, limited only by your fantasy, as the number of settings won’t hamper you. You can make sure of this plugin’s abilities on the web site of the developer, illustrated with samples, but you’d best try it yourself. It is small, free of charge and doesn’t bite.