First of all, of course, you‘ll need an appropriate color or black-and-white photo, plus half a minute of time to turn its colors into spectacular sepia tones. It cannot be tuned as finely as the previous sepia procedure we published and brings a weaker result, but in turn it is very easy to apply and nicely produces an acceptable illusion.
Open the photo in Photoshop
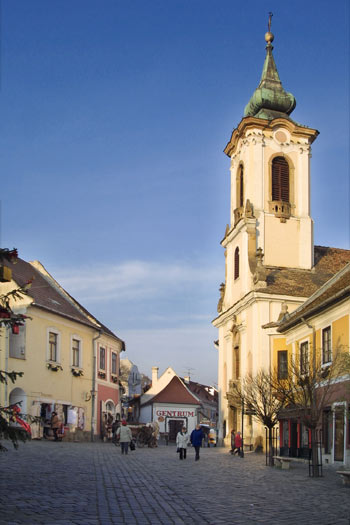
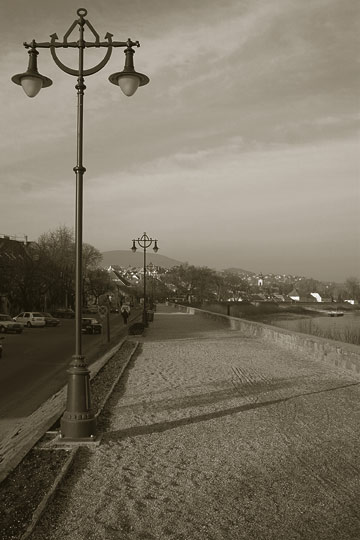
It’s high time we stole some of that imaginary good-old-world atmosphere into the photo. What setting could be more appropriate for this than the main square of a lovely oldish town?
Do the colors
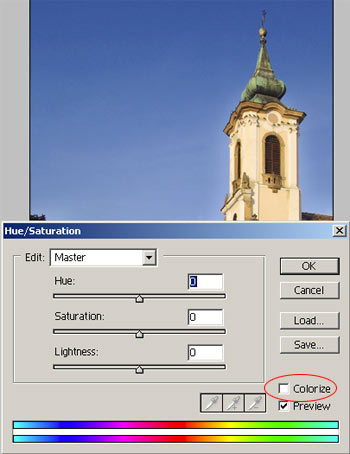
Or, more exactly, do away with them. Click Images/Adjustments/Hue/Saturation. The feature we seek is in the lower right corner of the dialog. It is called Colorize. Select the check box.
Hue and saturation
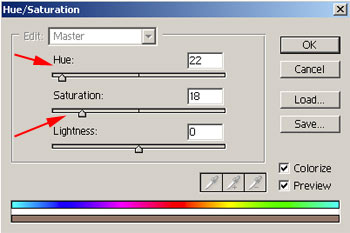
Let’s remain a while longer on the Hue/Saturation dialog and adjust the Hue slider to get the desired color. This can be the sepia you originally thought of, or a cyan or purple tone. Choose one matching your taste and concept. Set the Saturation of the chosen color with the next slider.
Use the Lightness slider only if you want to change the lightness of the image. Most of the time, you don’t need this.
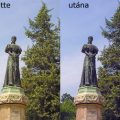
Nostalgia
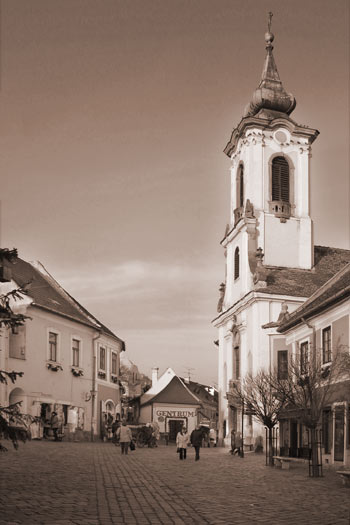
The final picture looks quite nice, especially if you think about how much time it took to prepare. For the previous, similar procedure, click here.