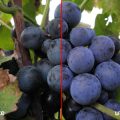
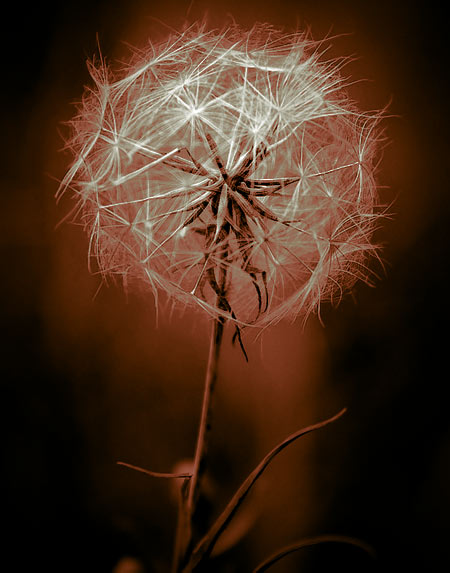
The colors of this photo are slightly different from realistic. There is a weak, annoying veil over the picture that only needs a touch to look more lively. Photoshop offers a wide range of simple methods for this aim that don’t require any proficiency, just a sense of beauty.
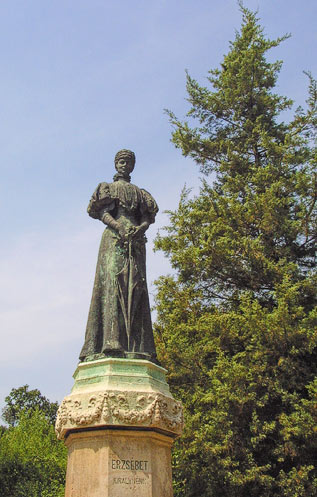
The picture has an overall greenish-yellowish hue, and it could do well with a bit of contrast increase.
One of the simplest tools for color modifications is the Image/Adjustments/Variations feature. The command invokes a sizable dialog that enables you to do basic color and lightness modifications using preview images. Let’s take a closer look at the Variations dialog:
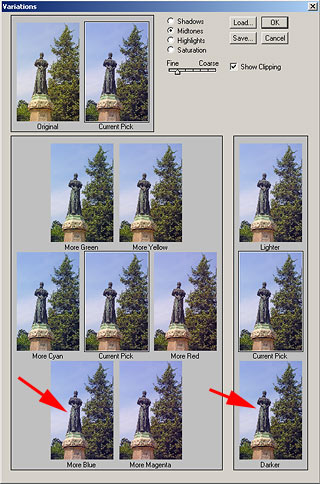
The upper left corner shows two images: the Original, and the current result of any changes made (Current Pick). The radio buttons to the right control which aspects (colors, brightness, etc.) of the photo will be changed. Shadows applies the changes to the darker areas, Midtones to midtone areas, while Highlights to the lighter ones. You should select Midtones for general color modifications. Saturation makes the picture more saturated or bleached. You can see a slider under the radio buttons. Fine applies the changes in smaller steps, while Coarse in bigger ones. It is recommended to use Fine for more accurate work. Select Show Clipping to indicate whether an area of the picture “clips out” from overlightening. Using this feature is recommended, too.
The lower left section of the dialog shows 7 preview images. The middle one is the current image, and the surrounding ones represent different color modifications. If you set the slider to Coarse for a while, the changes will become more emphasized. (Don’t forget to set the slider back to Fine afterwards.) If Saturation is selected above, the section only contains 3 images: The current one in the middle, one somewhat bleached to the left and one more saturated to the right. Modification couldn’t be easier. Click the variation that represents the direction in which you want your picture to change. For example, if the photo is too blueish, and you want to warm the colors up a bit, choose More Red. The variation you selected jumps to the middle and becomes the current image. You can apply the same change several times if needed.
The lower right section contains 3 images below each other. The middle one is the current picture, and there is a lighter one above and a darker one below. This is the section for changing lightness.
In the current example, we have selected the Midtones radio button, in order to change the midtones of the picture. The slider was set one step right to Fine, to apply the changes in small steps. In the lower right section, we have clicked the Darker variation once, so that the photo has somewhat more contrast. In the left section, we have asked for More Blue three times. Each click led to more blueish hues instead of the previous green ones. The exact amount of changes should be chosen according to the photo and your taste. Click OK to commit the changes you’ve made:
before / after
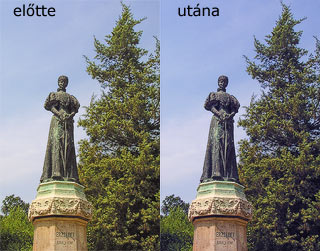
The picture became more definite, more contrasty and the green veil disappeared.
