Reduce the colors of your picture to a few spectacular tones to make it more expressive than the original swirl. The Duotone command in Photoshop enables you to use only 2 to 4 selected tones and to control the intensity and appearance of these tones individually. Three is a lucky number, so let’s change this photo to three tones!
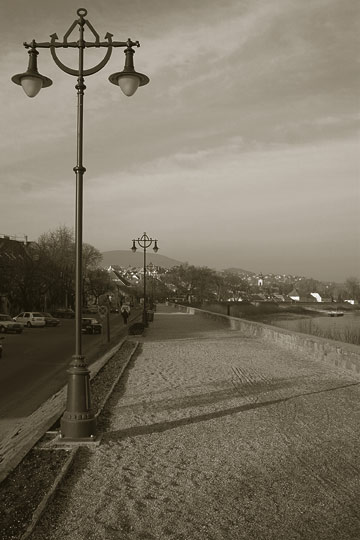
1. Load the photo
This picture doesn’t contain a lot of color tones, but let’s reduce them to even fewer. Say, three.
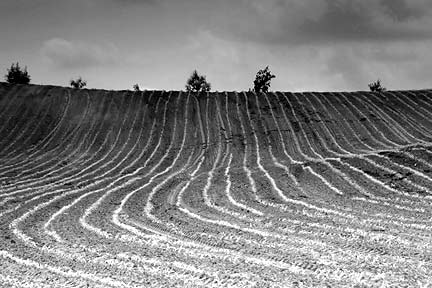
2. Colorless?
You should start by clicking Image/Mode/Duotone but in case of a multicolored RGB image this menu item is inactive. First you have to change the image to black-and-white by clicking Grayscale in the same menu. Now you can click Duotone.
3. Three’s a lucky number
First of all, select Type on the appearing dialog to set the number of tones. You can choose Monotone (1 color), Duotone (2 colors), Tritone (3 colors), and Quadtone (4 colors). For now, click Tritone.
3 rows will become active instead of the earlier 1. You can set the three base colors separately. Black is already there, you may leave it this way, provided you don’t want a weird, otherworldly color effect. Black produces the original brightness values of the picture.
In each row, you can see two boxes first, and an info text row. By clicking the first box, you can select the hue of the given color on a separate dialog, using a curve or numeric values. We’ll talk about this during the following steps. Clicking the next box lets you select the color from numerous predefined color palettes. Click the second box for Ink 2 and choose a color. In our case, it is an orange (PANTONE Orange 021 C). Make Ink 3 a pale green.
4. Brightness 1
Now you can set how each color shows up in the picture. To do so, click the first box in each row. Now you are shown a hue curve and 13 fields that enable you to set the proper hue by using numerical values. You can set the values approximately in steps of 10% from 0 (brightest) to 100 (darkest). We have increased the 60% (darker midtones) value a bit. You can also do this by clicking the curve and dragging the appropriate handle. While doing this, check the photo continuously to review the change.
5. Brightness 2
Repeat the previous step for the pale green row. This time, decrease midtones as that will be the range for orange-ish colors. Slightly increase the lower part of the curve (meaning brighter hues). In this range, greenish colors will be more intensive. Now you have a nice lying S-shaped curve, and hopefully this means separated black, orange and green tones in the picture.
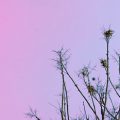
6. Tritone
As a last step, click Image/Adjustments/Levels to set the final brightness and contrast for the image if you feel it necessary. We have done so.
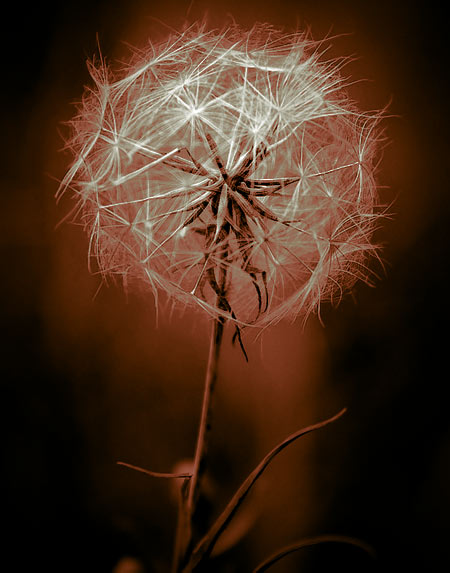
Here you are, the tritone picture, much more exciting than simple monotone ones!