History Brush is one of the most versatile retouching tools in Photoshop. It can be used to restore a modified, retouched photo to an earlier state. Thus, it enables non-linear editing in addition to the traditional, linear method. During the editing process, you are not limited to the History palette but you can also reach back to a previous state regarding single picture elements. When applied carefully, this technique can make past and present mingle nicely. This Photoshop tip explains only a small part of the possibilities offered by the History brush, but you’ll also meet the name in several future articles.
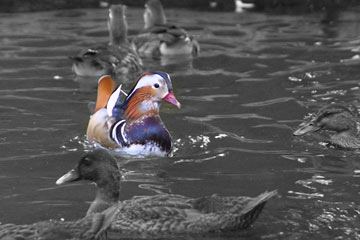
We want to emphasize our friend with the motley feathers even more. Thus, he’ll retain his colors while the other areas of the picture will go grayscale.
First, make the whole picture grayscale (“black-and-white”) By clicking Image/Adjustments/Desaturate.
Take a look at the History palette, or if it is not active, click the History tab. You can see that all the steps you’ve previously done are represented as individual rows. In this example, you have two rows now: one for opening the picture, and one for applying Desaturate. You can see a small square on the left side of each row. By default, the one beside the preview image at the top contains an icon. Click any of the squares to make the icon move to that row. This icon denotes the History Brush. When using that brush, you can paint the previous state corresponding to the marked step onto the photo.
Let’s see how it works. We want the duck functioning as the main theme of the photo retain his colors while the rest of the picture stays grayscale. Mark the row on the History palette where the duck is still colored. This is either the opening state (the row called Open), or the initial one represented by the upper preview image. So in this case, there’s no need to click. Anyway, take care to click the square you want, not the row itself! Make sure that the last step (this time, Desaturate) remains selected.
Now press Y, or click the indicated icon on the Tools palette. This is History Brush.
Under its options, select a moderately large, circular, soft brush and start painting the duck’s feathers. We have used a brush size of 20 pixels, but when dealing with large images, you can safely pick a size of 40 to 50 pixels.
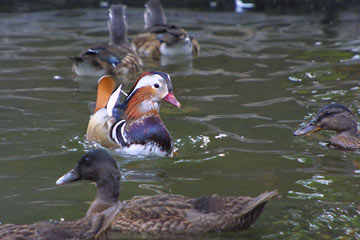
You can see the feathers regaining their original colors while the other parts remain unchanged.