Anyone who is seriously into Photoshop to a degree has surely used layers and masking. Photoshop offers numerous different masking methods. One of the more advanced ones is Clipping Mask. This Photoshop article offers insight into this feature.
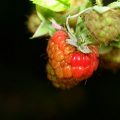
Load the photo in Photoshop
If you just want to practice, the photo’s content doesn’t really matter now. What we want to see is how to cut something from the picture using Clipping Mask, and what advantages this method offers.
A little transformation
We have a simple background layer—most probably with the name Background Layer—which is hard to edit in this form. You have to transform it into a floating layer. Double click the layer row to display the above dialog, then simply click OK on it. Photoshop automatically names this layer as Layer 0.
Duplicate

Click Layer/Duplicate Layer to create a new blank layer and drag it under the original one, Layer 0. It is on this new layer that you’ll create the mask—the object whose area (shape) will be cut out from the above image.
Go back to Layer 0 and right-click its name. In the context menu, click Create Clipping Mask. The image layer will thus be assigned to the mask layer underneath.
The shape
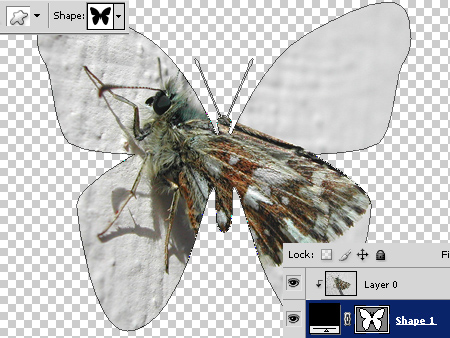
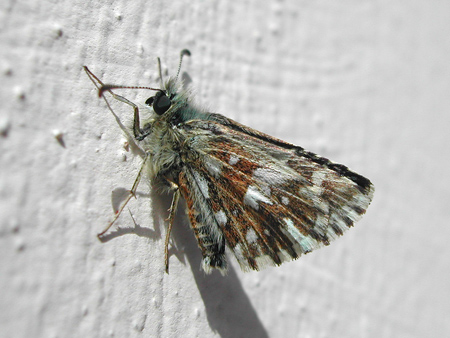
Now click the mask layer, Layer 1, again. The mask (the shape you want to clip) can be anything. You can use a simple brush which will make the painted areas visible, choose a gradient fill to get a nice transition, or place a pre-defined Custom Shape on the mask layer to use it as a mask.
We chose the latter option. We found a butterfly shape and dragged it onto the image. This clipped (masked out) the original image according to its own shape.
Advantages
Until now, this was just usual layer masking. How does Clipping Mask offer more? For example, it uses a separate layer which can be managed on its own just like any other layer. You can apply blending modes and layer effects to it. The example above shows an inner shadow and an outer glow effect.
You can place not just one but any number of layers above the Clipping Mask layer, and you can assign them to the mask in any way you like. The assigned layers can be mixed. In this example, we placed a cloudy sky texture in a separate layer above the butterfly one, and used the Hard Light blending mode to mix them.
We also placed a third image layer with flowers below the mask.
Dazzling
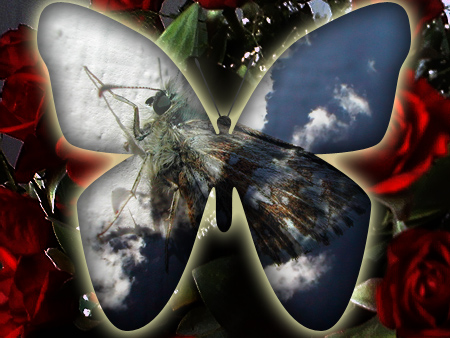
Here’s the result. Well, let’s be nice and call it dazzling, but it certainly demonstrates the possibilities Clipping Mask offers: mask effects with any number of blended layers.