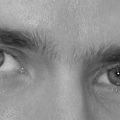
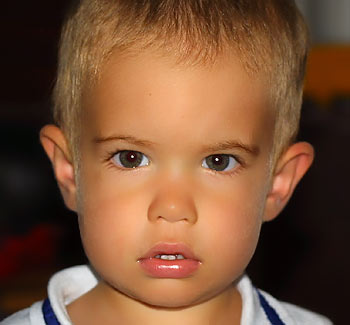
Right now, we are offering a real glamour portrait editing tip to our readers. This is a small trick that, with some practice, can make the glance of your portrait subjects even more enchanting. If you take a look at a vastly over-edited magazine portrait, you’ll surely notice the strongly expressive gaze of the models. Apart from finely shot pictures, this is owing to Photoshop’s Dodge and Burn brushes, among others.
Load the photo
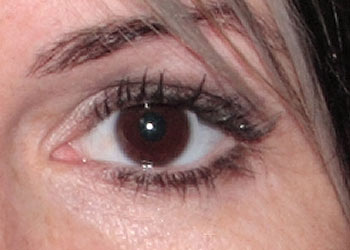
The gaze is a bit “grey”. It still goes in a family album, but now we want to conjure a real magazine look in the eyes of the model.
One brush

First, select the Dodge brush from the toolbox. From the options, choose a soft brush that compares in size to the whites of the eyes, or is perhaps a bit larger. Set Range to Highlight, since we want to lighten the whites of the eyes. Use a low Exposure value, about 10. We need to lighten cautiously and gradually. Now, start doing the white areas of the eyes. Don’t make them completely white as this would look unnatural. Afterwards, switch Range to Midtones or Shadows, depending on how dark the eyes are. For very dark eyes, use the latter. Now slightly lighten the iris in order to make the eye color more emphatic.
Another brush
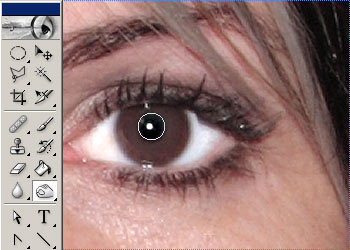
Our second and last brush is Burn, located next to Dodge. We’ll use it to make the pupil a thrillant black. Once again, use a low Exposure value. Even if you have to paint over the areas several times, this enables more accurate work. Set Range to Shadows as now you have to paint dark areas. Paint over the pupil multiple times.
Voilá!
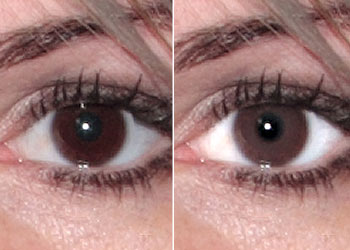
The eyes now shoot a much livelier gaze. The effect strength to be applied, or course, depends on the user and the purpose. For a family album, do only a slight enhancement with a fine retouch. On the other hand, for an enchanting magazine look, use it in abundance.
