The very base of any work with Photoshop – or any other image editor – is precise selection. You need selection tools not only for removing, replacing or inserting picture elements, but also for changing the colors, lightness or contrast of an area. Any area selection is not final& – you can modify it as your concept or needs change. Now we’ll select a contiguous area, increase the size of the selection with the Grow command, and blur the selection in order to avoid the result looking obviously manipulated.
Load the photo in Photoshop
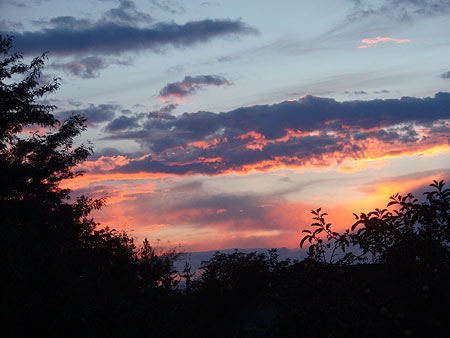
Say, our task is to make the somewhat greyish top of the sky a little bluer. There are many ways to start. One of them is to select the grey-blue color you want to change.
A magic wand
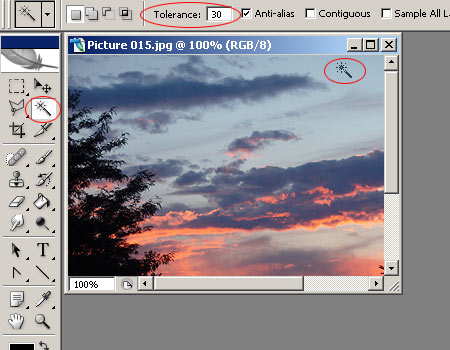
The Magic Wand Tool (press W to activate) is a perfect tool for selecting contiguous areas of a single color. In the options bar at the top, set Tolerance to about 30. This value, ranging from 0 to 100, controls how large an area should be selected relative to the point you click. For lower values, only pixels with a color and lightness closely resembling the selected one will be selected. Large values can even result in selecting the whole picture. A value of 30 is generally a good mid-range choice. Select Anti-alias to make the selection edges less jagged. Deselecting Contiguous will select all the similarly colored areas in the picture instead of one contiguous block.
Click with the magic wand on a homogeneous area of the greyish sky to make a selection. This selection will be worked out to be more precise.
Working it out…

…involves clicking Grow in the Select menu. Grow enlarges the selection by including similar pixels. If you only managed to select a part of the blue-grey sky with the magic wand, use Grow to finely grow your selection. We clicked it twice until all of the sky parts we wanted became selected.
Although we selected Anti-alias, it only removed minor jaggedness from selection edges. In order to avoid an ugly, sharp transition between recolored and unchanged areas, we need to blur the edges a bit. The same menu includes the Feather command for this purpose. On the displayed dialog, specify a value of 10 pixels for smaller pictures (of about 640×480 pixels), and up to 50 to 100 pixels for larger ones (of 6 megapixels or above in size). Finally press Ctrl+H which keeps the selection valid but hides the marquee. This way you can see the results of the following steps better.
Color magic
Use Image/Adjustments/Selective Color to change the colors of the selected sky parts. We used the following settings:
First, we selected Neutrals (midtones) from the Colors dropdown. Then we increased the intensity of cyan colors (Cyan; +46%) and decreased that of yellow ones (Yellow; -45%). We selected Relative under Method.
Use your own settings to produce custom colors.
Bluer than ever
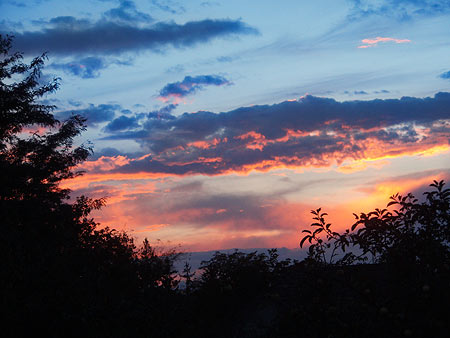
The top of the sky—the selected area—became much bluer. The dull greyness is gone. You can repeat the procedure on areas of other colors, and you can even use it to create wild and unrealistic tints in the picture.