We utterly refuse to introduce a traditional way of converting color pictures to grayscale. How interesting could that be? Photoshop’s grayscale color mode and Desaturate command mostly produces not grayscale but flat gray pictures. However, fiddling with color channels can lead to really beautiful and enjoyable results: something similar to what traditional B&W photographers get using various color filters. Now we emulate a red color filter, using a red color channel and the Calculate command, of course.
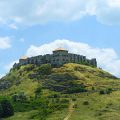
Open the photo in Photoshop
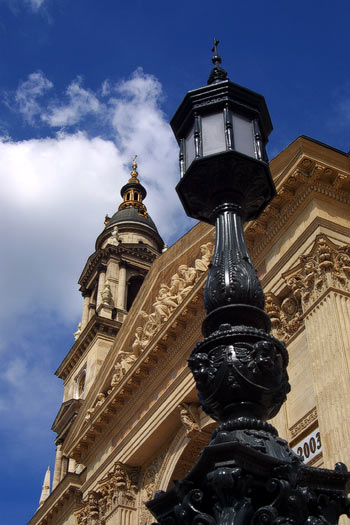
Red color filter is especially useful—when dealing with B&W images—if the photo sports a part of the sky, that is, in case of landscape and building photographs. The sky will get darker using the filter, and white clouds get even more emphasis. The method also comes handy when taking portraits, as a red filter can get rid of spots and freckles.
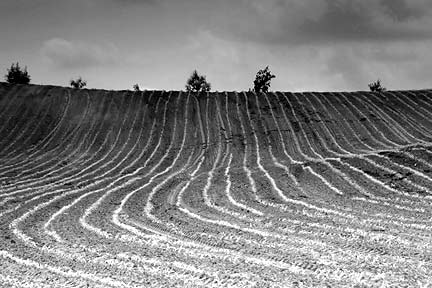
If you don’t take care…
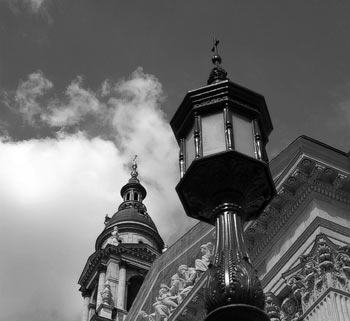
…and use the simple and quick Desaturate command, you can get a picture like this. We definitely want a more emphatic photo, with a lot more contrast.
Doing the math
All you have to do is to click Image/Calculations. It is rarely mentioned in image editor manuals, despite of being a very useful and versatile feature, just like its companion, Apply Image, introduced a few articles earlier. Calculations may offer even more possibilities, among others, black-and-white conversion.
You’ll only have to care about Channel under Source 2 as well. Set it to Red so that the program will do the calculations by comparing the red and the “grey” channels. You’ll also need the Blending field. In our case, Soft Light led to an appropriate contrast without an obtrusive nature. Feel free to experiment with other blending types to see how well they perform. To refine the general effect, set Opacity to 10%.
Finally, choose New Document from the Result dropdown. This way, the result will constitute a new document.
Black-and-white without frontiers
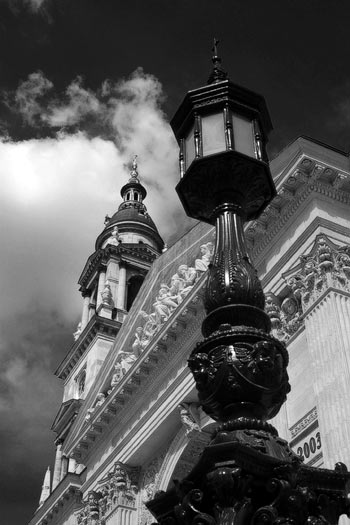
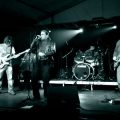
The photo is finished and waiting to be saved. Compare it to the picture in section 2! The result is much more dramatic than that of a simple grayscale transformation.
You can repeat the procedure using any other channel. Just set Channel under Source 2 to Green or Blue instead of Red in section 3.