Once again, we try to reach our goal on a backway. Of course, the reason is the same as always: the main road is shorter, but the experience makes it well worth to tread the longer one. Our aim this time is to increase saturation of the picture, which would be too easy with the familiar Hue/Saturation feature, not even mentioning the not always satisfactory results. We found another, somewhat longer solution, which, on the other hand, provides nicer results. If you’re interested, read on!
Load the photo in Photoshop
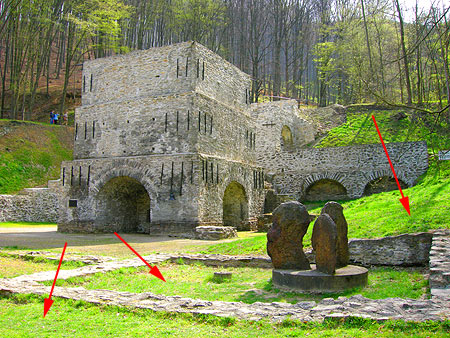
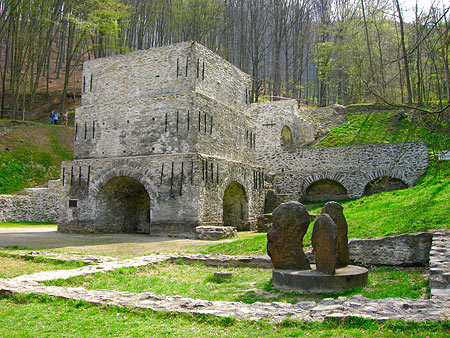
This photo is rather pale in the colors. Surely there are people who like it this way but we’re after a postcard-style color orgy now.
Neon parade
The traditional method would be clicking Image/Adjustments/Hue/Saturation and increasing Saturation on the displayed dialog. It does make colors more vivid. However, larger values also change picture brightness. More vivid color areas lose tones. Our new method is more sparing.
Laboratory
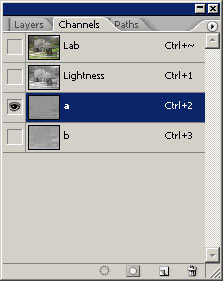
In order to work with just the colors and not affect lightness information at all, you need to switch to LAB color mode by clicking Image/Mode/Lab Color. From the panels on the right, choose Channels. You’ll see a Lightness and two color (a+b) channels.
Select the a channel first.
Overlay
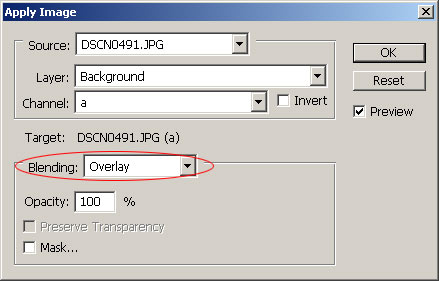
From the menu, select Image/Apply Image and specify the indicated values. You only need to change Blending. Set it to Overlay.
Bee
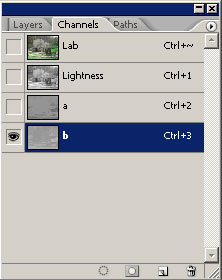
Now select the b color channel and repeat the above step. Choose Overlay here as well (you’ll probably have it as the default setting).
More lively
If you’re done, switch back to RGB color mode by clicking Image/Mode/RGB Color, colors won’t change.
The final picture shows similarly vivid colors as the one produced by the traditional saturation enhancing method, but with somewhat more tones.