Photoshop Elements includes a lot of artistic effects, almost as many as Photoshop itself. The big brother lets you fiddle around with various pencil drawings and painting effects for an interesting feel. Now we’ll see what Elements offers if you want to emulate a pastel crayon look. The procedure is roughly the same in Photoshop, so feel free to try it if you have the regular edition.
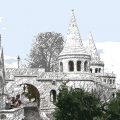
Load the photo in Photoshop Elements
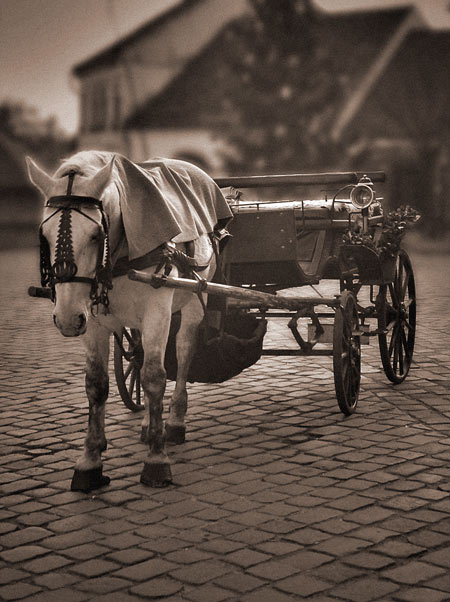
Of course, we did some preliminary work on this picture. For example, we added a sepia look and enhanced its contrast range. However, the procedure below doesn’t have any prerequisites. You can apply it to photos freshly downloaded from your camera. On the other hand, if you have a processed image which you’d gladly see in a drawing-like style, bring it on!
Artistic
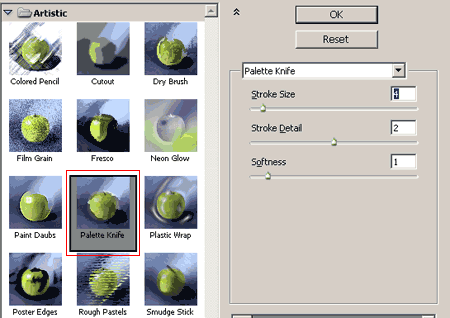
Elements, just like Photoshop, stores artistic filters in the Filter/Artistic submenu. Click any of them to display a large dialog that lets you choose from drawing and painting effects. The predicted result can be seen on small preview images. Click these or use the dropdown in the top right corner to select Palette Knife. It produces a rough spot effect that breaks the regular forms and lines in the picture a little. Its most important setting is Stroke Size. Lower values produce smaller spots, while higher ones make the picture look rough and indiscernible. Use a setting that leaves the main theme recognizable.
Don’t close the dialog when you’re done! We’ll continue to use it.
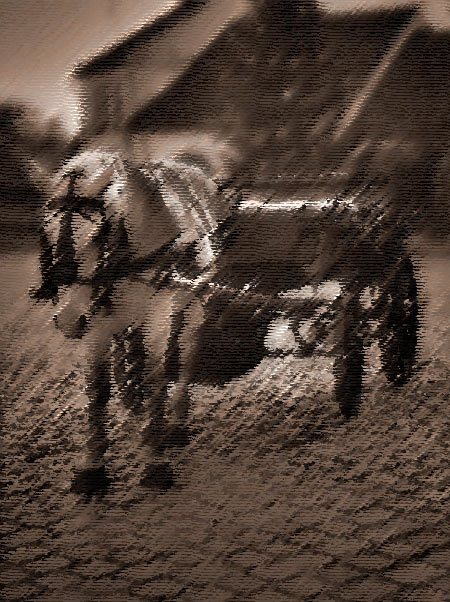
Rough pastels

We’ll stay on the Artistic interface and add another effect to the previous one, so that both will be applied together. What else could it be but Rough Pastels?
First, click the indicated icon on the lower right, then select the Rough Pastels preview. The “broken”, painting-like forms now show a rough pastel effect. Stroke Length and Stroke Detail are the two settings you should alter. Experiment with them until you find which combination produces the best result for your picture.
Texture specifies the canvas type for your imaginary painting. We’d suggest leaving it on Canvas. Other settings are optional as well. Scaling sets canvas roughness, and Relief controls how much this roughness affects the photo. Setting it to 0 makes the pastel effect vanish. Be sure to use a higher value!
The Light menu specifies which direction the light falls on the drawing, which slightly affects its look. You can also choose to Invert the bulges of the canvas texture.
Up the wall!
If you’re done, click OK to finalize the effects. After this, save the photo. Or let’s say “picture” instead as it is no longer a photo. Our actions turned it into an interesting pastel drawing.
Feel free to try other Artistic filters. You can produce much more interesting effects by using multiple filters simultaneously, just like in this article.