Who would have thought that Quick Fix, the simplest editor in Photoshop Elements, also has surprises? Well, the most obvious white balance correction tool is available here.
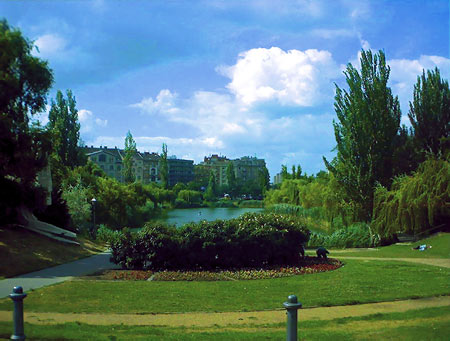
Load the photo
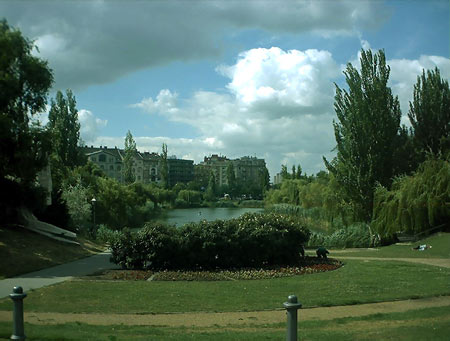
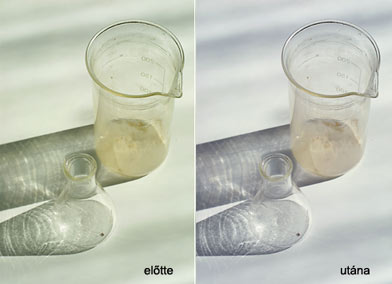
Our old digital camera’s white balance assessment feature wasn’t performing too well, so now we have to get rid of this ugly greenish veil.
A quick pass
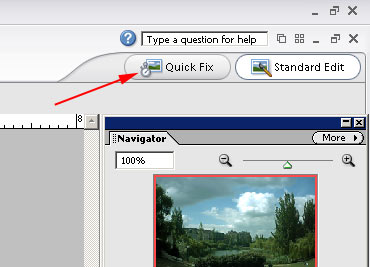
The handiest white balance corrector in Photoshop Elements can be found under Quick Fix. You can select this feature from the welcome screen after loading the application, but it is also accessible from the normal editor by clicking the Quick Fix button in the upper right corner.
Color modifiers

The right-side editing bar in Quick Fix contains the following Color-related sliders:
Saturation: also known as color intensity.
Hue: well, it’s just that.
Temperature: the primary tool for adjusting white balance.
Tint: it is related to color temperature and brings a greenish or purplish coloration.
We’ll primarily need the latter two settings, but this time saturation will get adjusted as well.
Saturated
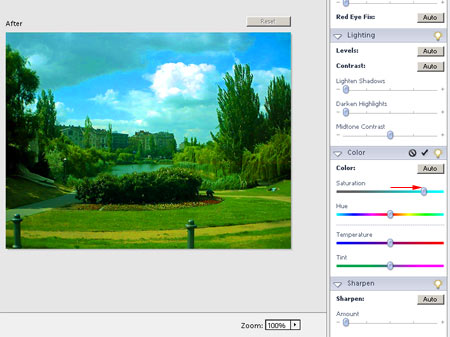
Actually, this is where we’ll begin. As a first step, we boosted Saturation as it is easier to work with blazing colors than with dull ones.
A different temperature
In order to adjust white balance, we dragged the Temperature slider to the left. This emphasizes greens and blues—the cold colors. Then we dragged Tint to the right to give some warmth to the existing colors.
Obviously, this procedure is not an exact one. You cannot even specify numeric values for the sliders. You’ll have to follow your eyes, but when dealing with a picture with such messed up color levels, it is easy to produce a much more accurate and natural looking image even without that kind of accuracy.
Backing off
Finally we have to decrease Saturation back to a normal level and we’re through, hopefully having much more accurate colors than the original. See for yourself!