We learned long ago how to add a dreamlike effect, similar to that of softening filters, to our photos. It’s all just fiddling with layers. For those however, who do not want to delve so deep into layer experience, there are tools for the same purpose. One of those is Dreamy Photo by Auto FX, which offers additional effects apart from the well-known softening. The plugin can be downloaded free of charge from the developers’ website, although it requires an activation code which can be obtained by supplying your e-mail address.
The plugin can be called in a rather tricky way. In the usual place, in the Filter menu, you’ll find an item called Auto FX Software. However, this starts a framework which enables you to run any Auto FX plugins. From this range, we only need Special Effects now. use this to invoke the menu containing Dreamy Photo (or any other plugins from the same developer).

At the same location, you can choose Select Preset which offers 27 factory presets, along with spectacular sample photos.

You can produce the same effects using the plugin’s interface or you can even adjust the presets to your liking. Click Save under Special Effects to save your own settings as a preset.
The plugin’s interface starts with the Ghost Type menu, offering a selection of three basic effects:
Soft: a simple softening.

Zoom: a drag that gets stronger towards the edges. Also includes softening.

Rotation: a rotation blur, in addition to softening.

Dreamy Photo utilizes two layers just like our article mentioned above, but you don’t have to toil with layer duplication, just set a few sliders. The plugin softens the duplicated layer and leaves the original unchanged. The soft-and-sharp effect is created from blending the two.
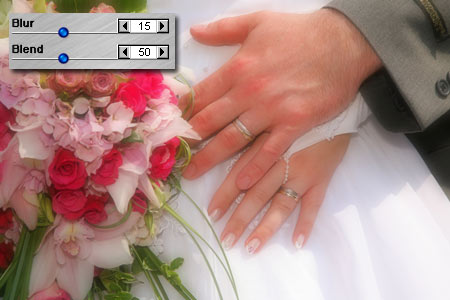
Blur specifies the intensity of softening, while Blend sets the ratio of the soft and sharp layers. A value of 0 displays only the sharp one. Increase it to conjure up the softened layer, until at 100%, only the latter is shown.
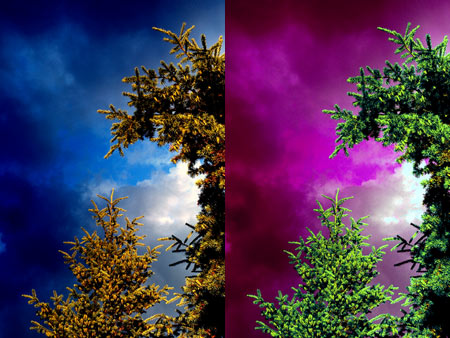
Ghosting augments contrast and with it, colors.

Tint Color adds a tint to the whole image. Choose the color by clicking the color picker to the right of the slider.

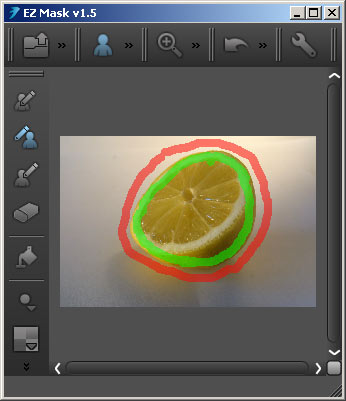
The plugin also handles masks, so you can choose to soften just a part of the photo. There is a File/Load a mask command as well. The mask can be any black-and-white photo (e.g. in JPG format). White parts remain untouched while black ones are transparent (i.e., modified). The Soften Mask slider blurs the borders between masked an unmasked areas.

The listing of the controls ends with Zoom options. The Zoom slider increases the size of the blurred layer, thinning or thickening the aura in the picture. The direction of blur movement is controlled by Zoom Offset.

Click Original to view the initial state of the image, OK to finalize the effect, or Cancel to quit the plugin without any changes.
Basically, this is what you need to know about Dreamy Photo. A bit of slider adjustment, and the dream scene photo is done. The plugin can be downloaded here for Windows and Mac OS.